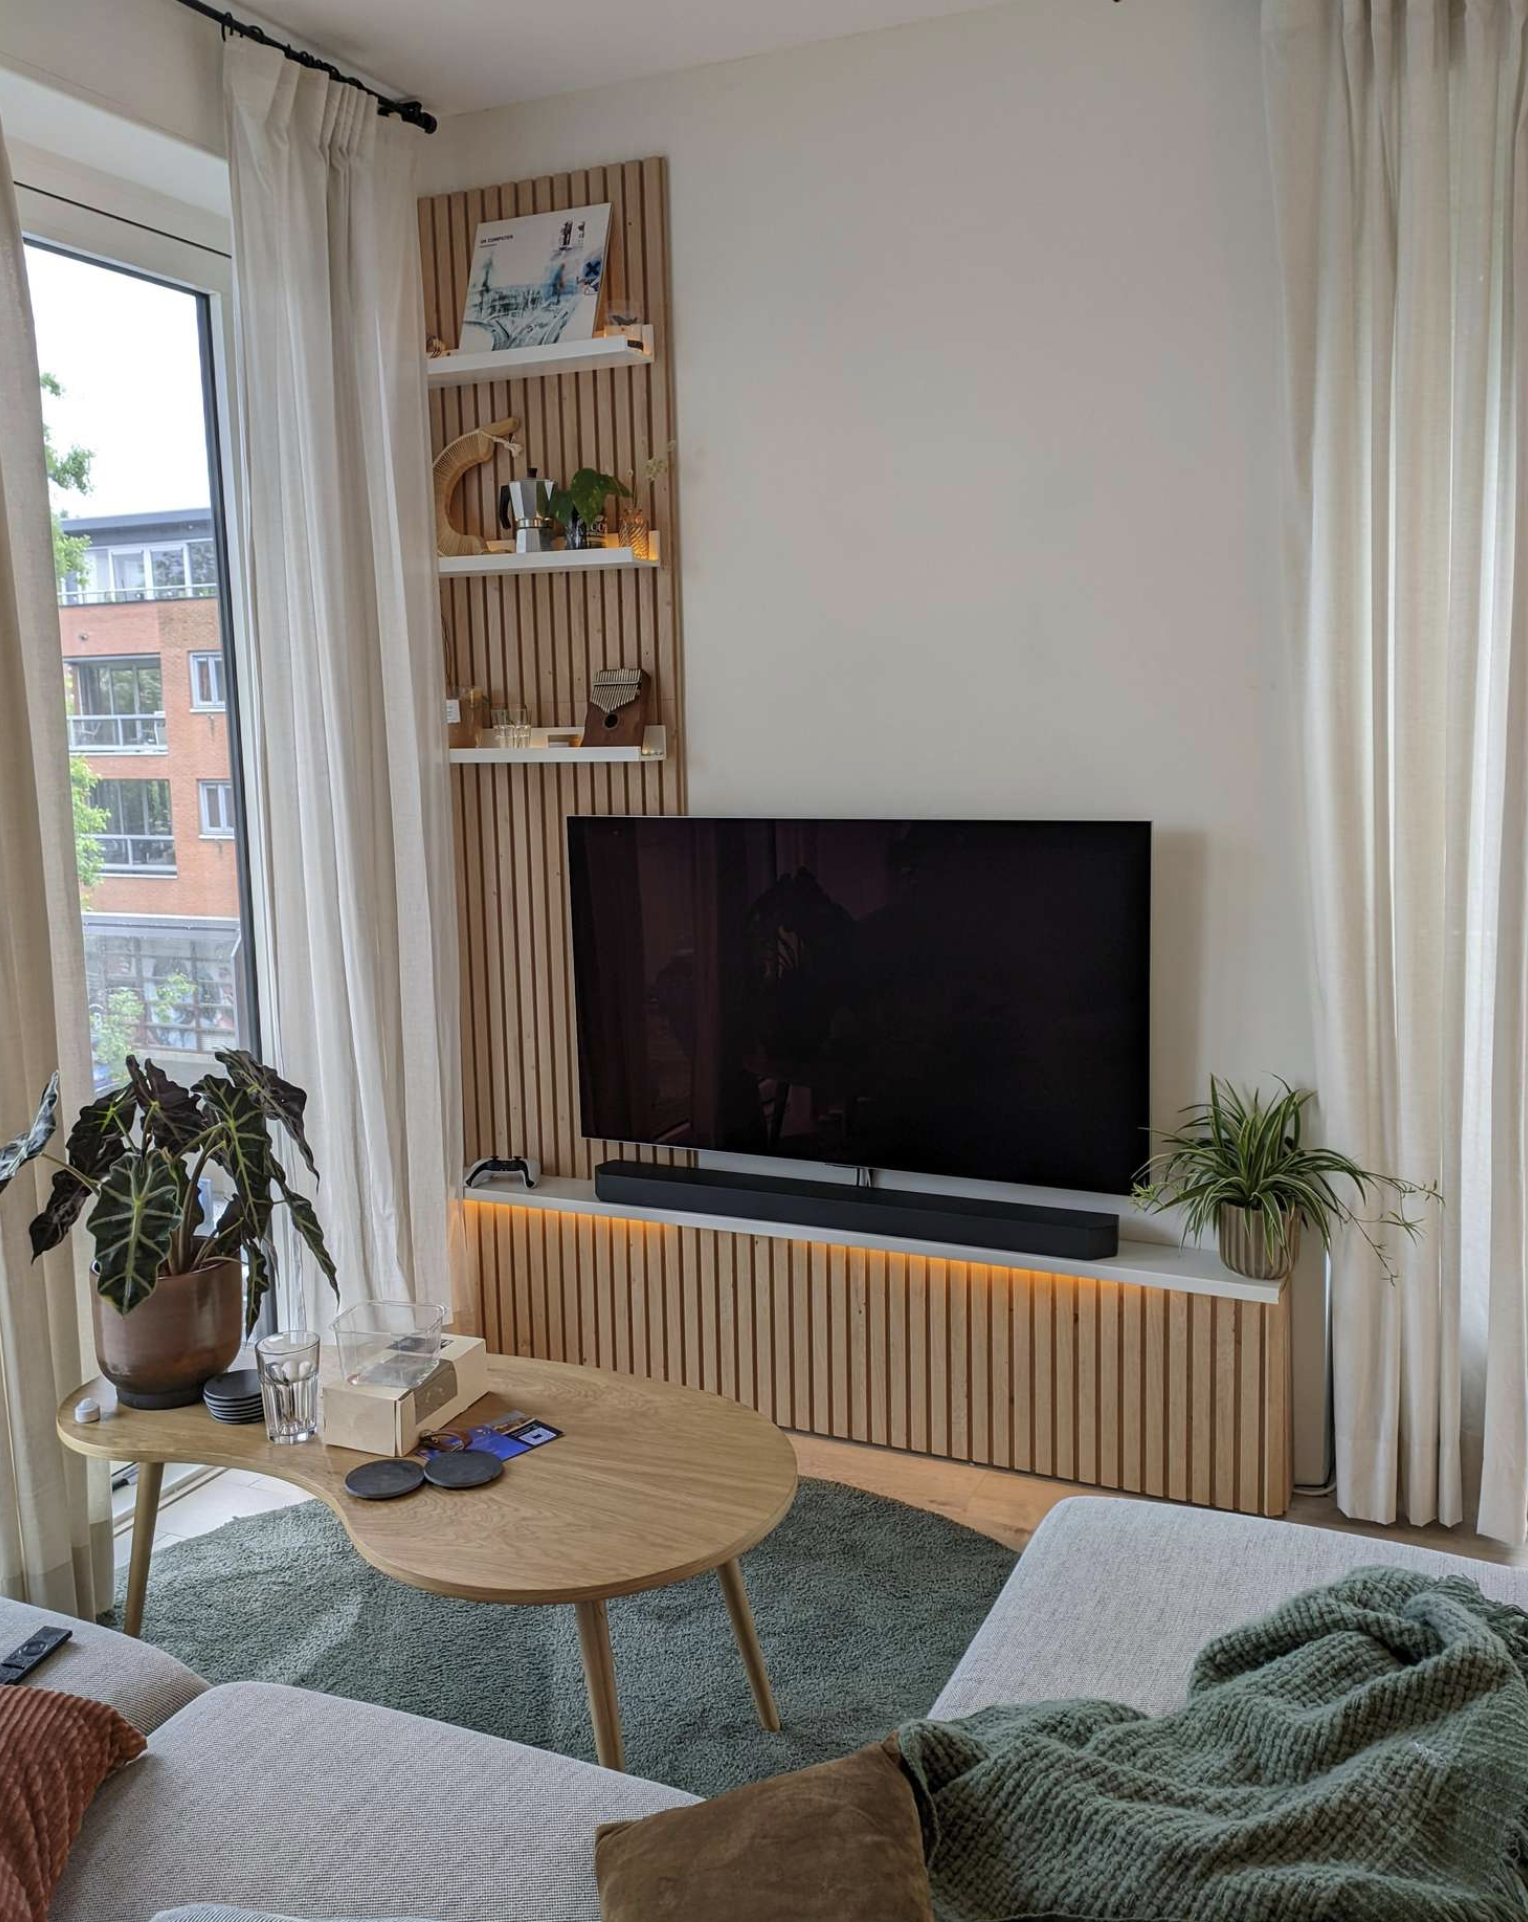
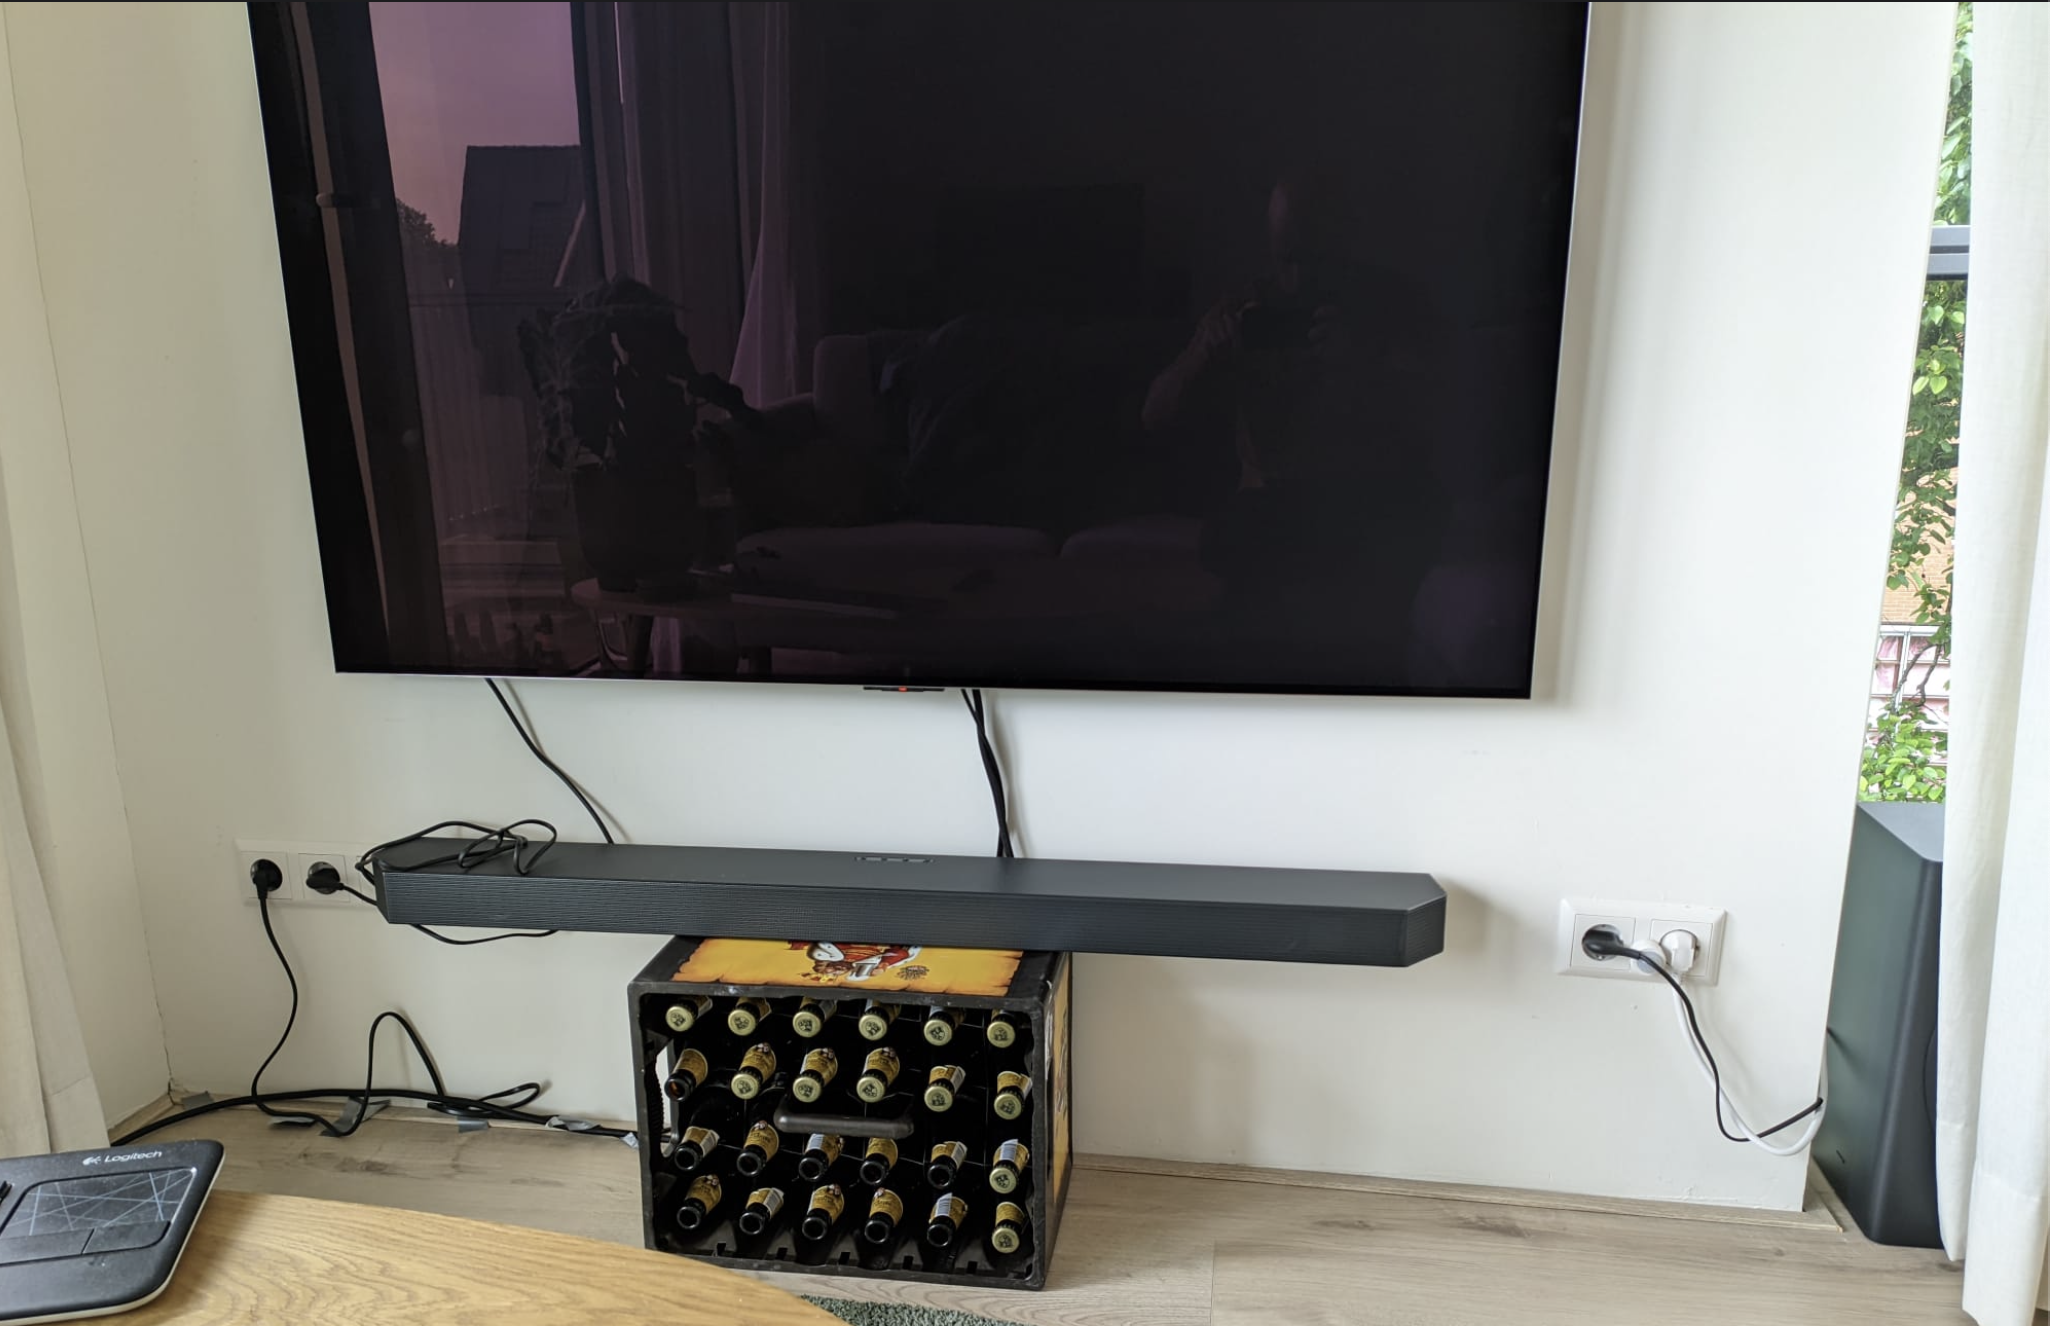
Yet another project that only I will use (or maybe me and the next tenant). I am really happy with the TV I bought, but the wall I hung it on still felt empty, despite the presence of a huge black rectangle. When I also bought a soundbar that I placed on a crate of beer, I decided it was time to get something proper.
The problem is that my living room is not that large, and I was already struggling to fit normal furniture into it without it looking packed (I already ditched the idea of having a dining table—who uses that these days?). I looked in some stores, but I couldn’t really find something with a small footprint that I liked and didn’t cost a kidney. Hence, I decided to spend the kidney and build something myself regardless. I spent quite some time drawing sketches and creating impressions of what I wanted.
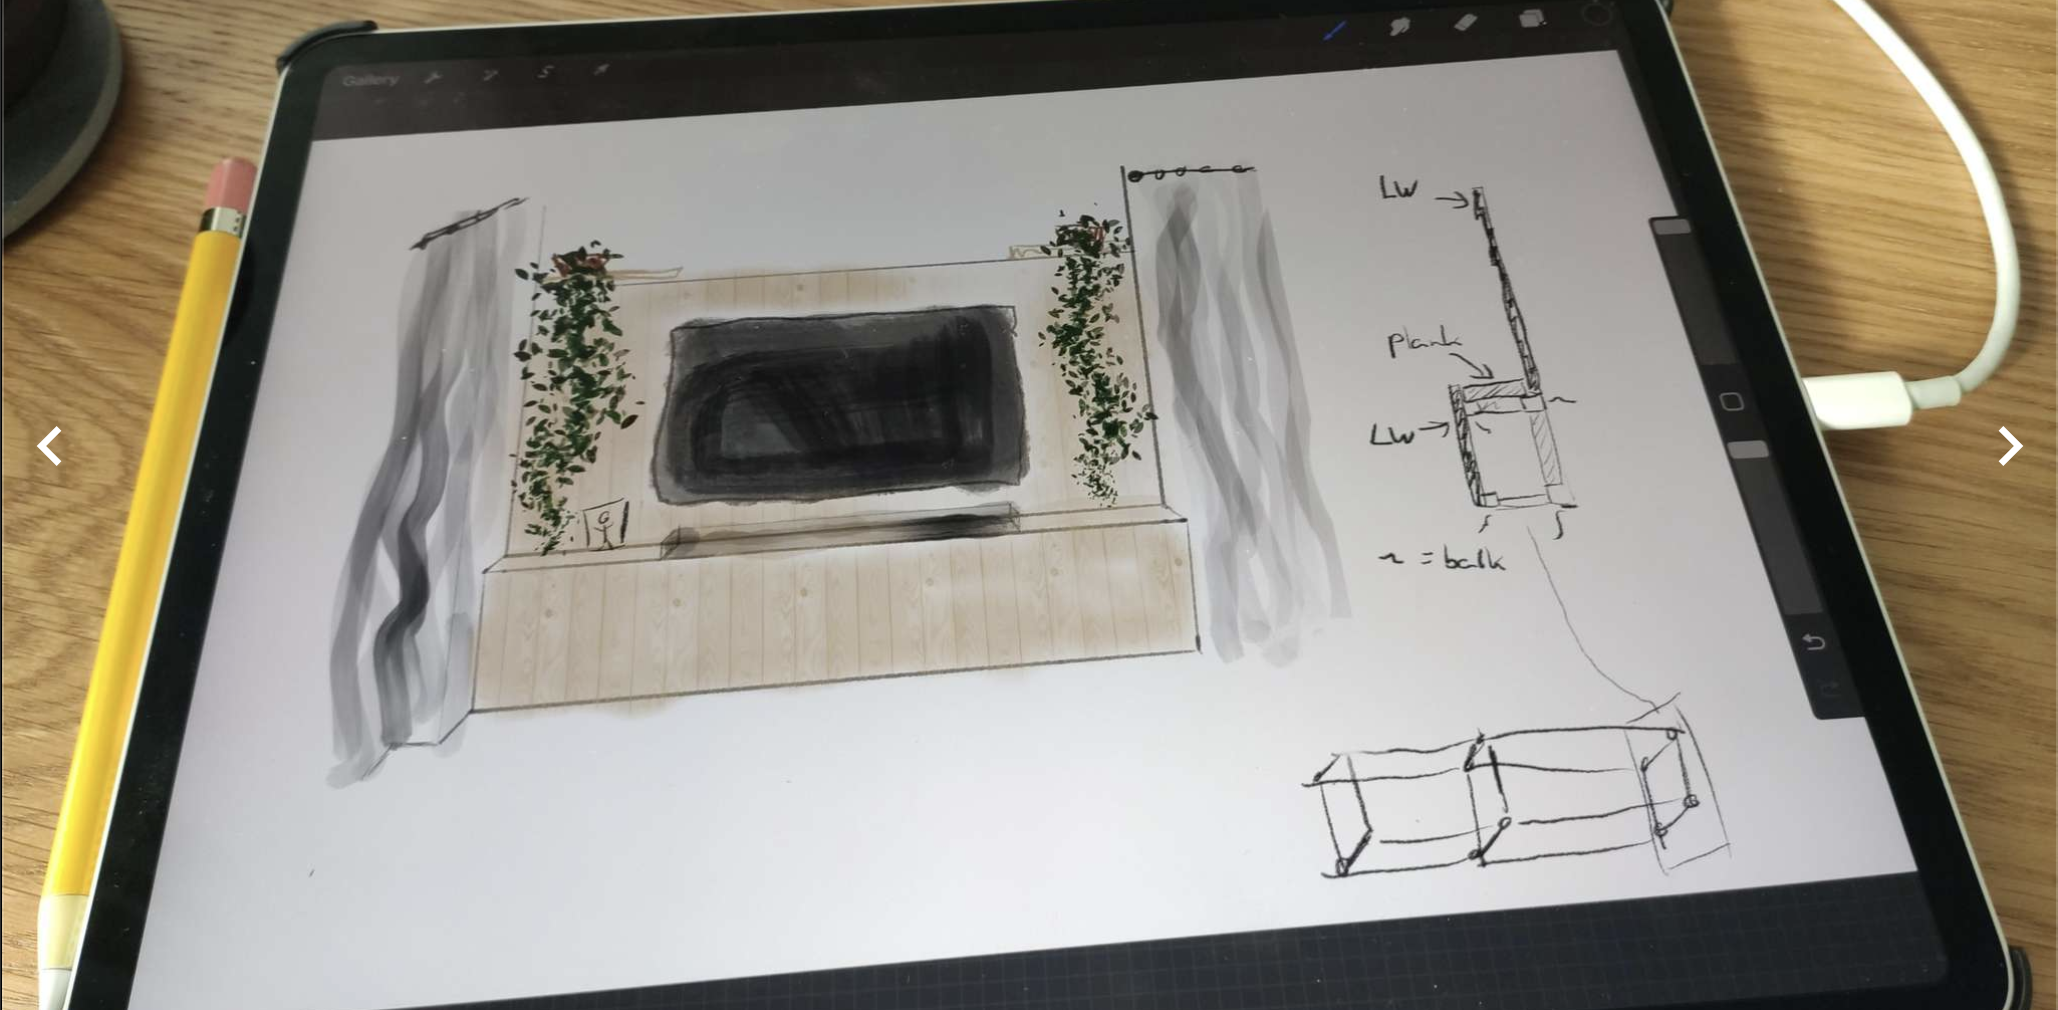
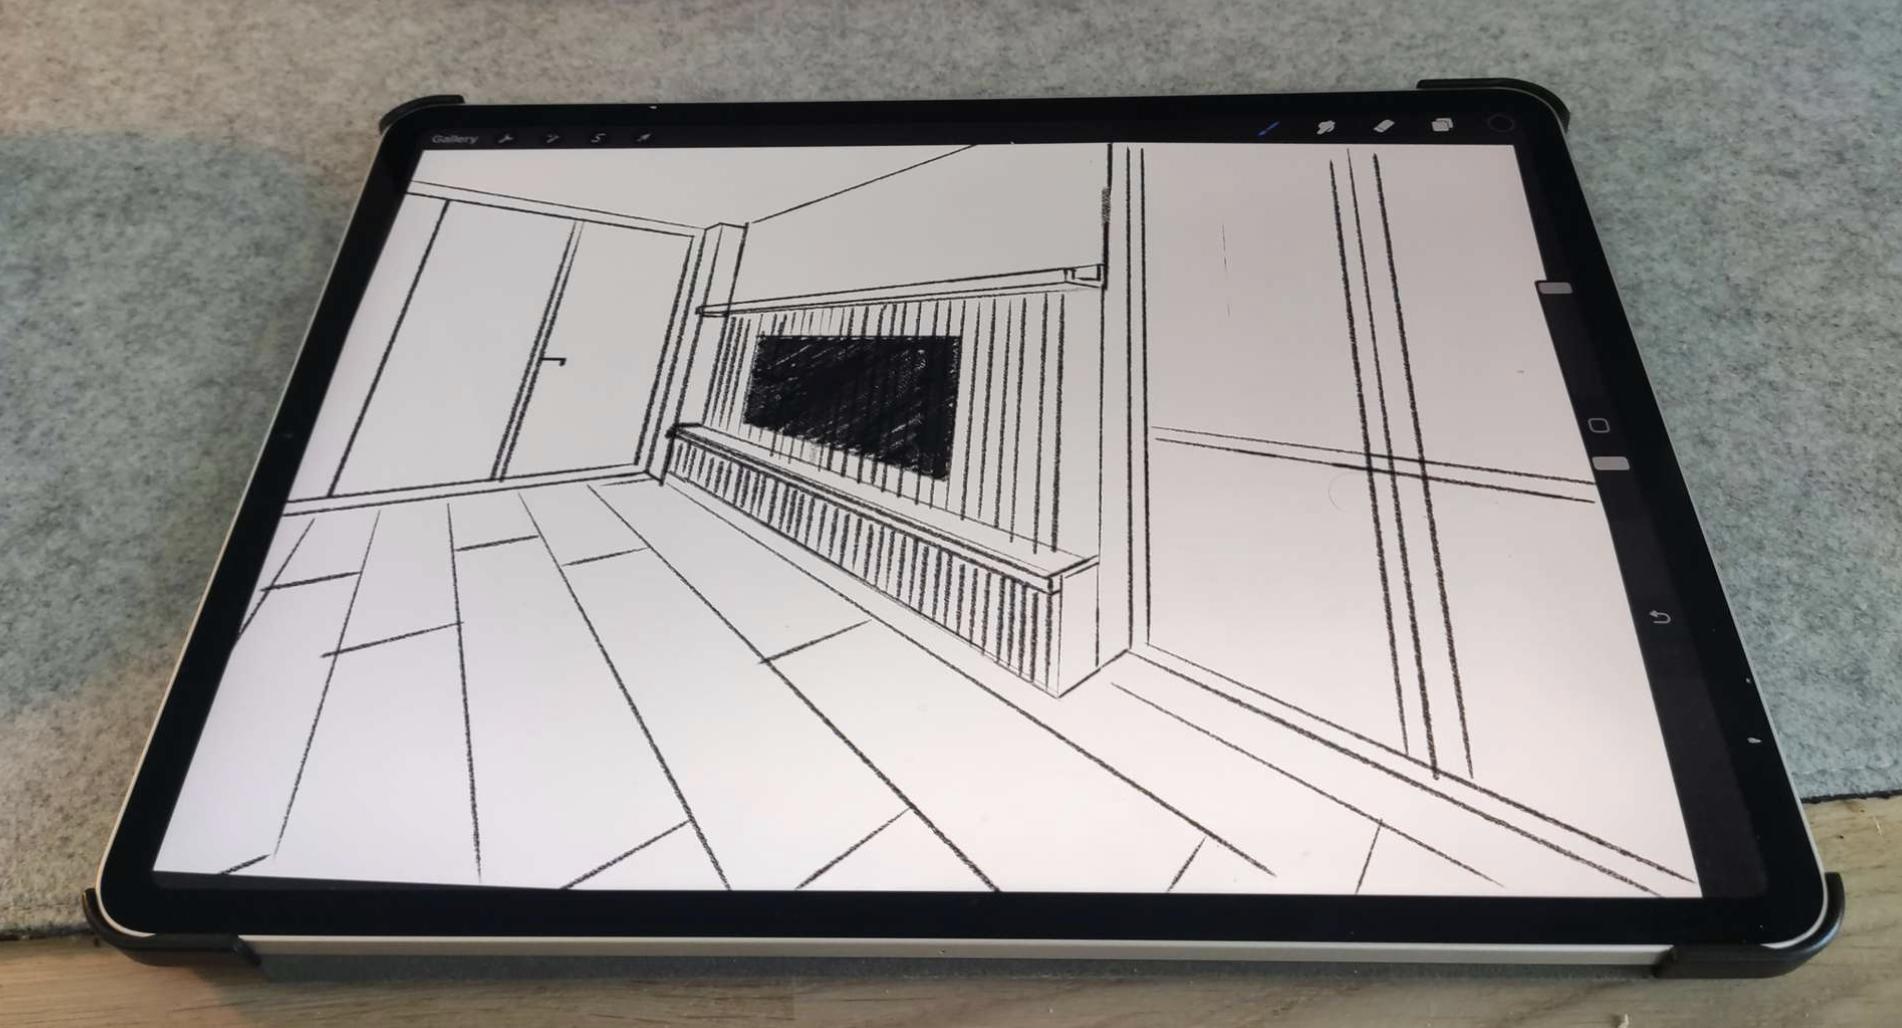
This didn’t turn out to be very fruitful, as I ditched all my precious hours of drawing as soon as I got the materials. It turns out that it was a good decision to become a software engineer, as it’s easier to make 180-degree changes to a design you have in mind. Before I got to that point though, I spent some time at the carpentry store in the neighborhood, checking their inventory and generating countless ideas. It was quite overwhelming, honestly.
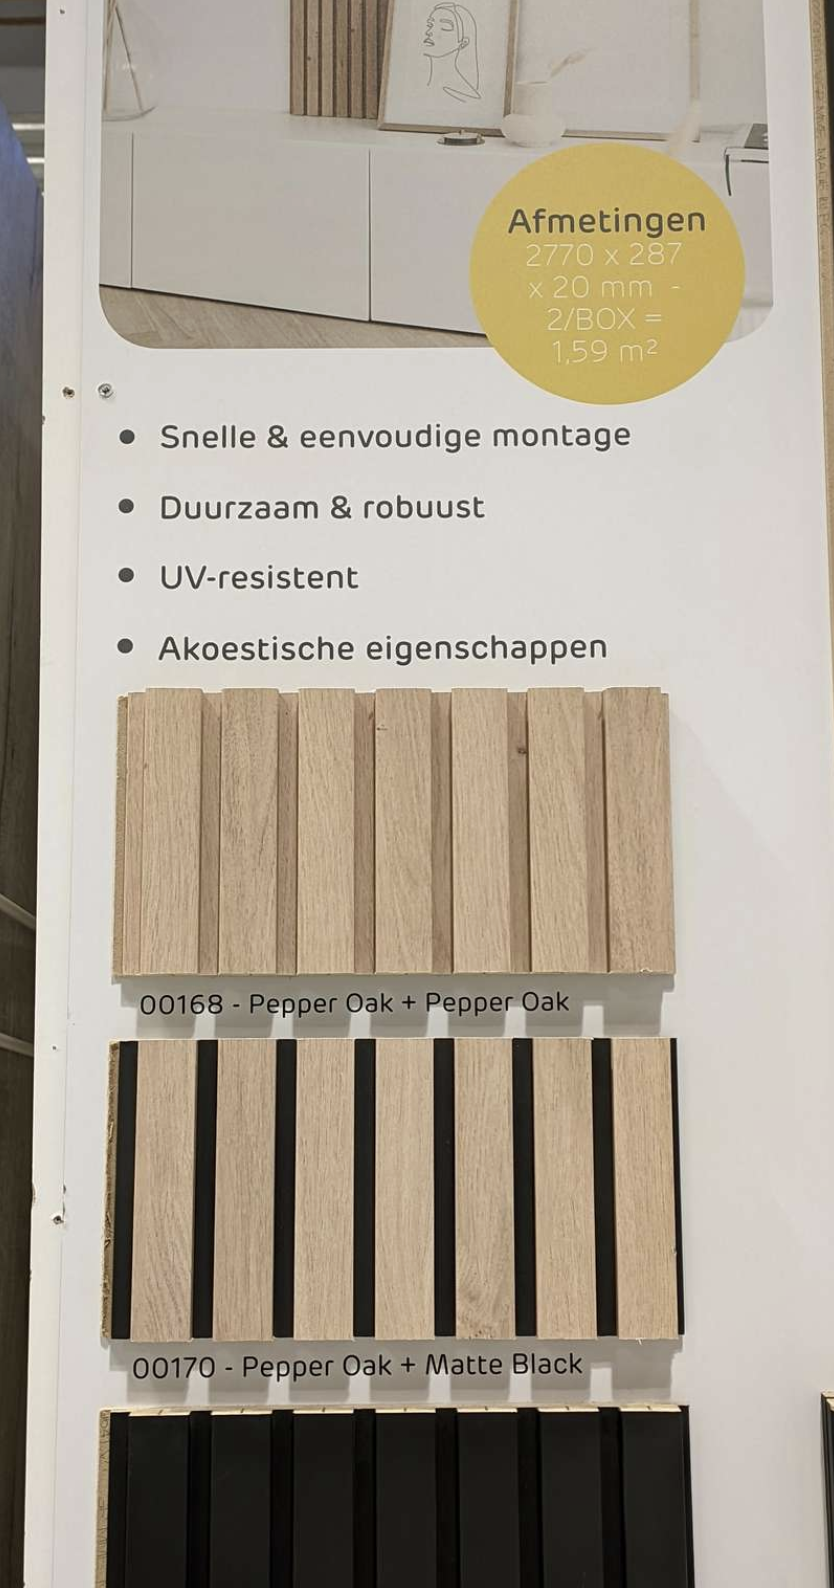
Then I decided to keep it simple and go with the bare minimum of what I thought would work. So far, so good. Unfortunately, someone grabbed the last panel while I was redoing my calculations—whoops.
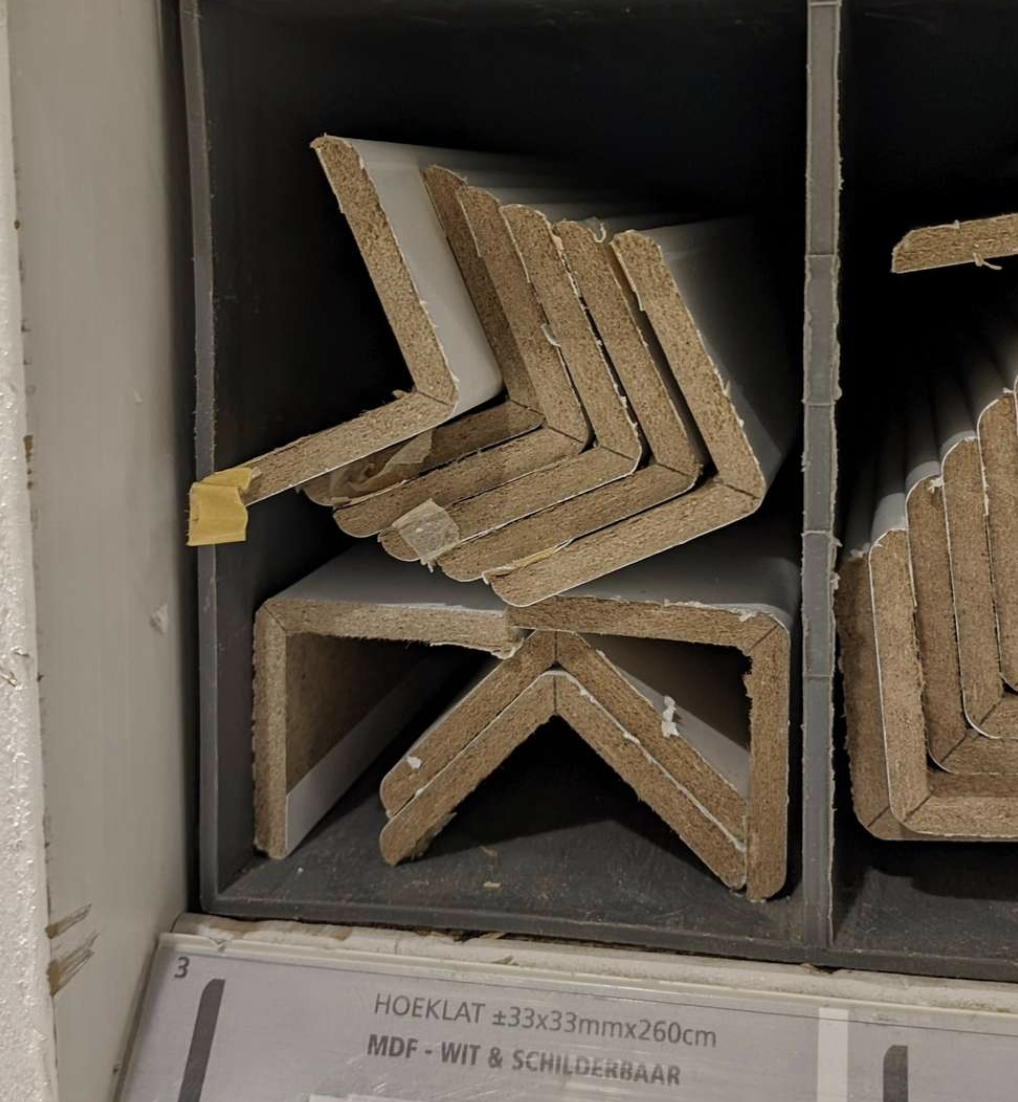
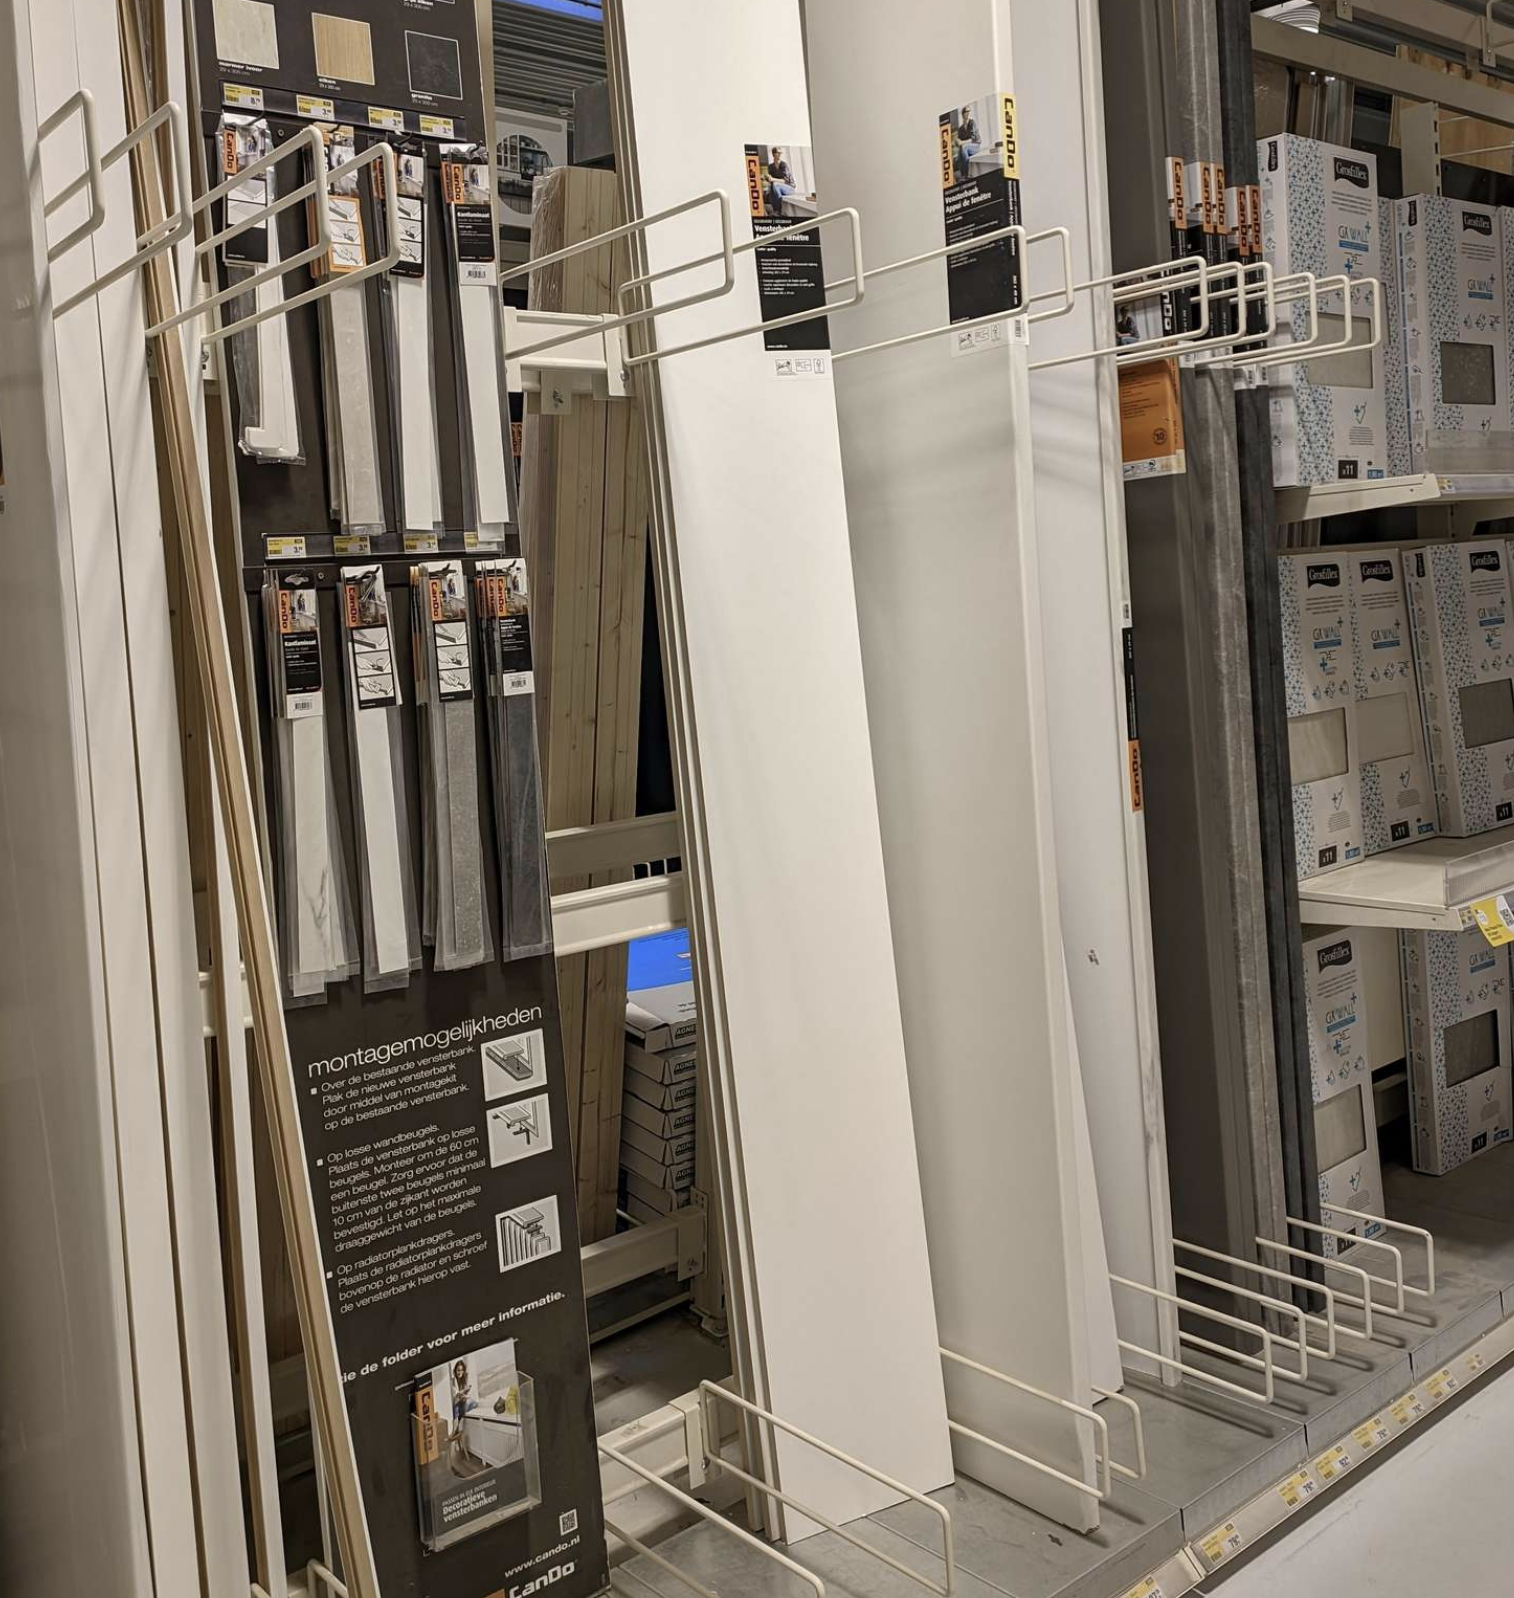
This gave me time to get started on the “scaffolding” of the frame I had in mind. The idea was quite simple: I used shelf wall-mounting brackets to support a windowsill. This way, I had decent structural integrity without having to build an entire frame. I also made a support at the bottom from a plate of MDF (i.e., a spacer from the wall). I don’t have many pictures of this, but I hope this (future) photo clarifies the idea:
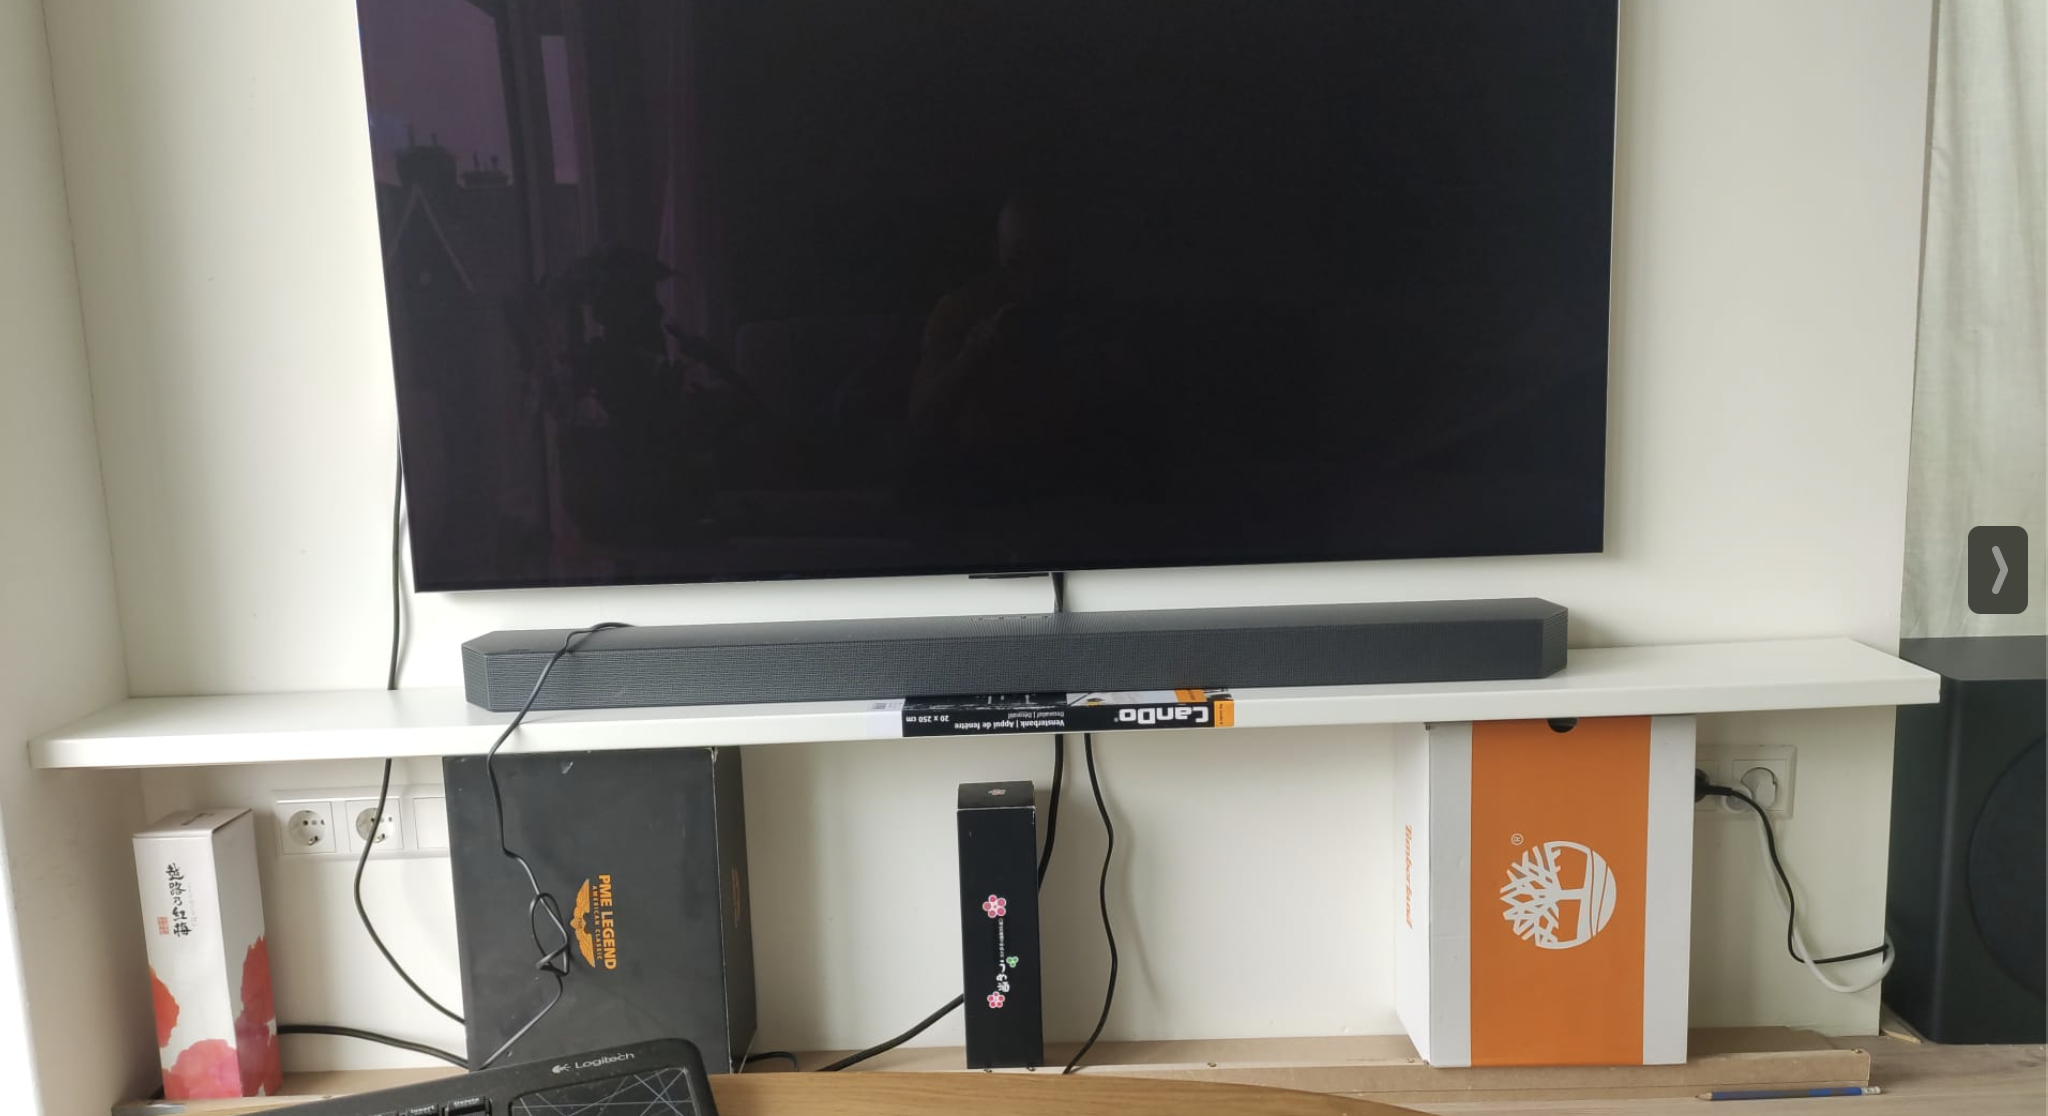
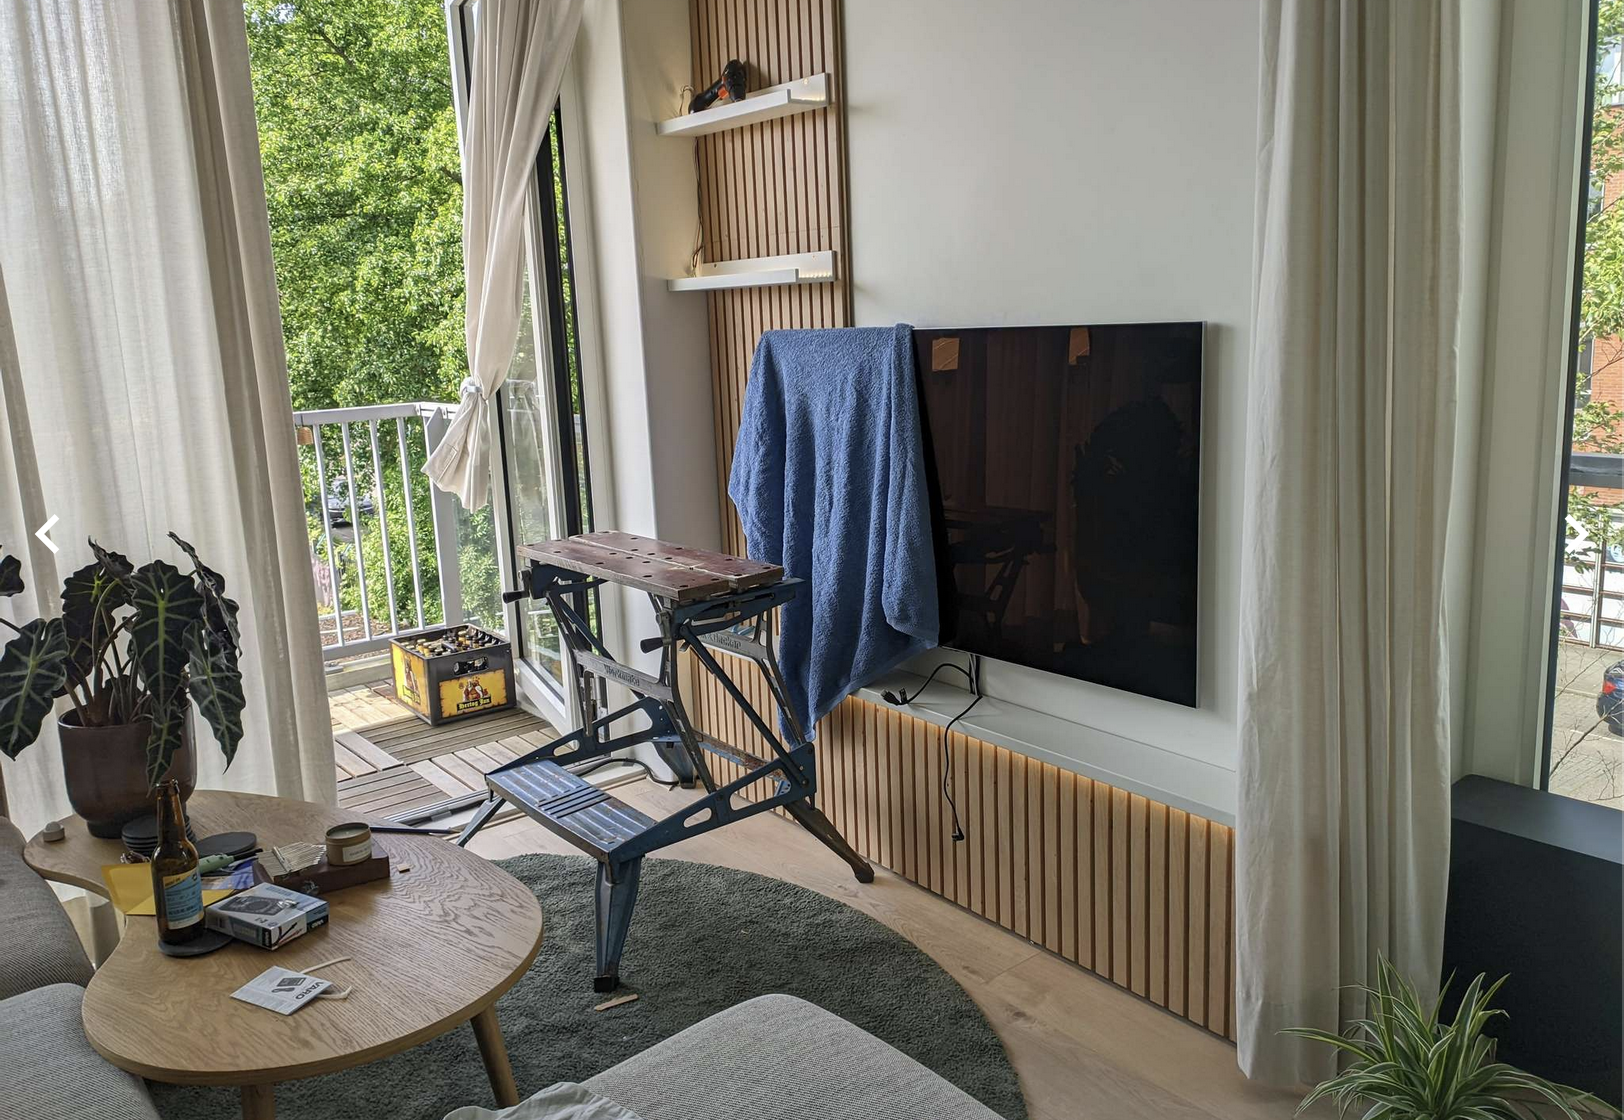
Before I got to this point, I had to figure out the height. Yes, I calculated it, but seeing it in real life is always different. Hence, I made this beautiful mock-up (yes, the height of this thing is determined by a shoebox):
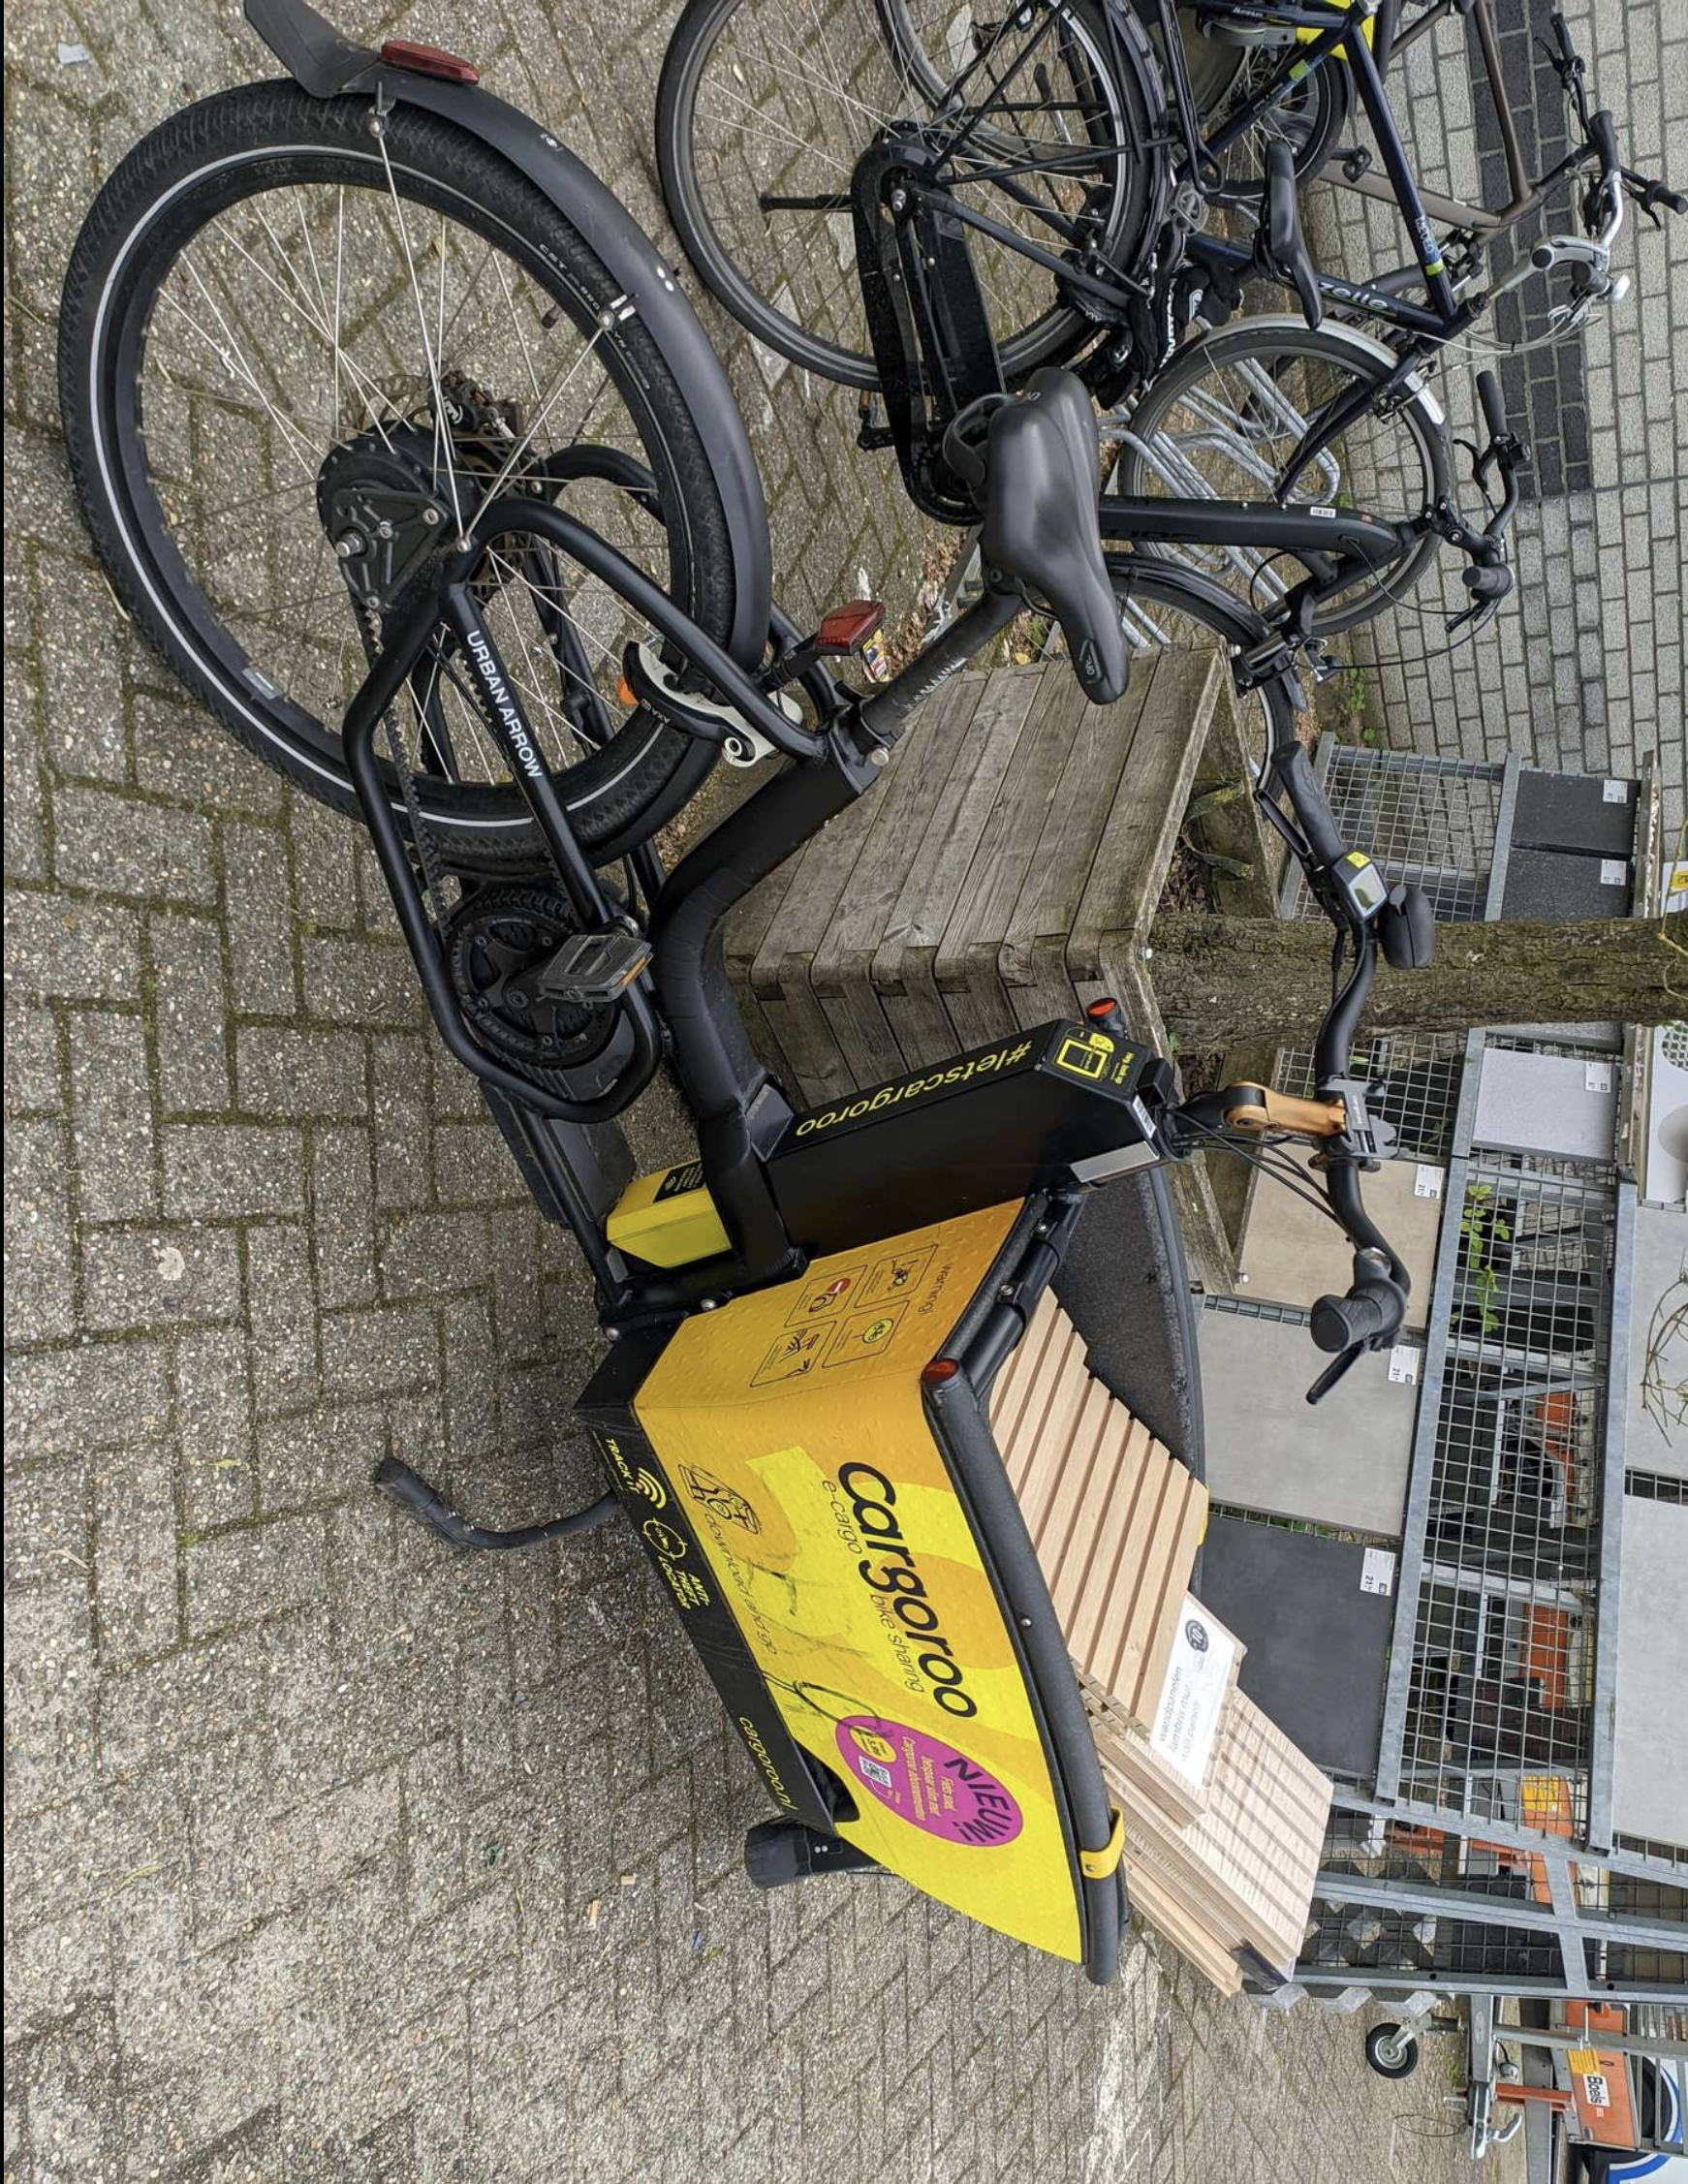
Two weeks later, the panels finally arrived. In hindsight, I was happy with the delays, as they allowed me to put the project to rest and focus on other things. I had previously asked the guy at the carpentry store if it was possible to cut them to the sizes I had calculated, but the new guy wasn’t too fond of the idea. After explaining I was picking them up on a bike, and two calls to his manager, he finally agreed. In the end, I rented a bike to bring everything home.
From here, I could start building the bottom enclosure. As you can see, I used the windowsill as a spacer for the individual segments. This allowed me to create equal spacing from the ground, making it less obvious that my floor is a slightly different color. It also ensured that dust wouldn’t get trapped in the vertical slots.
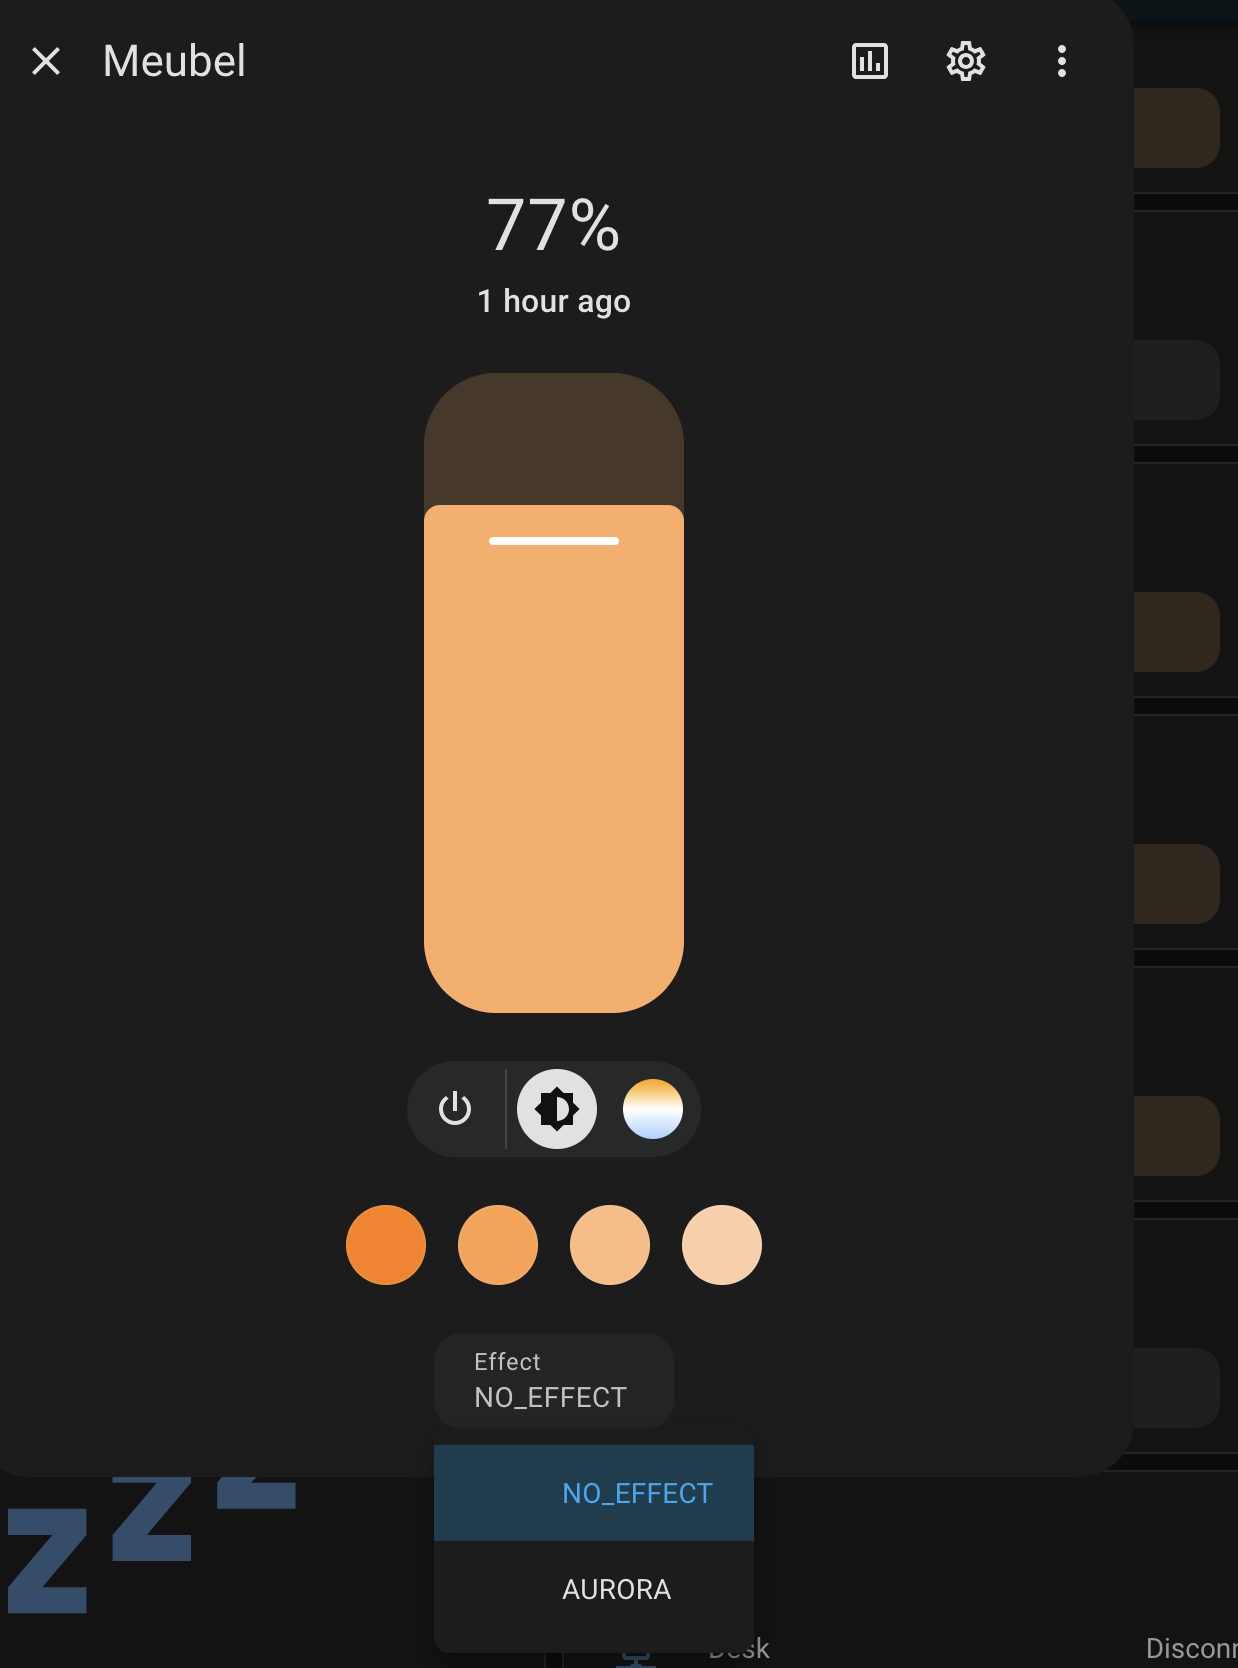
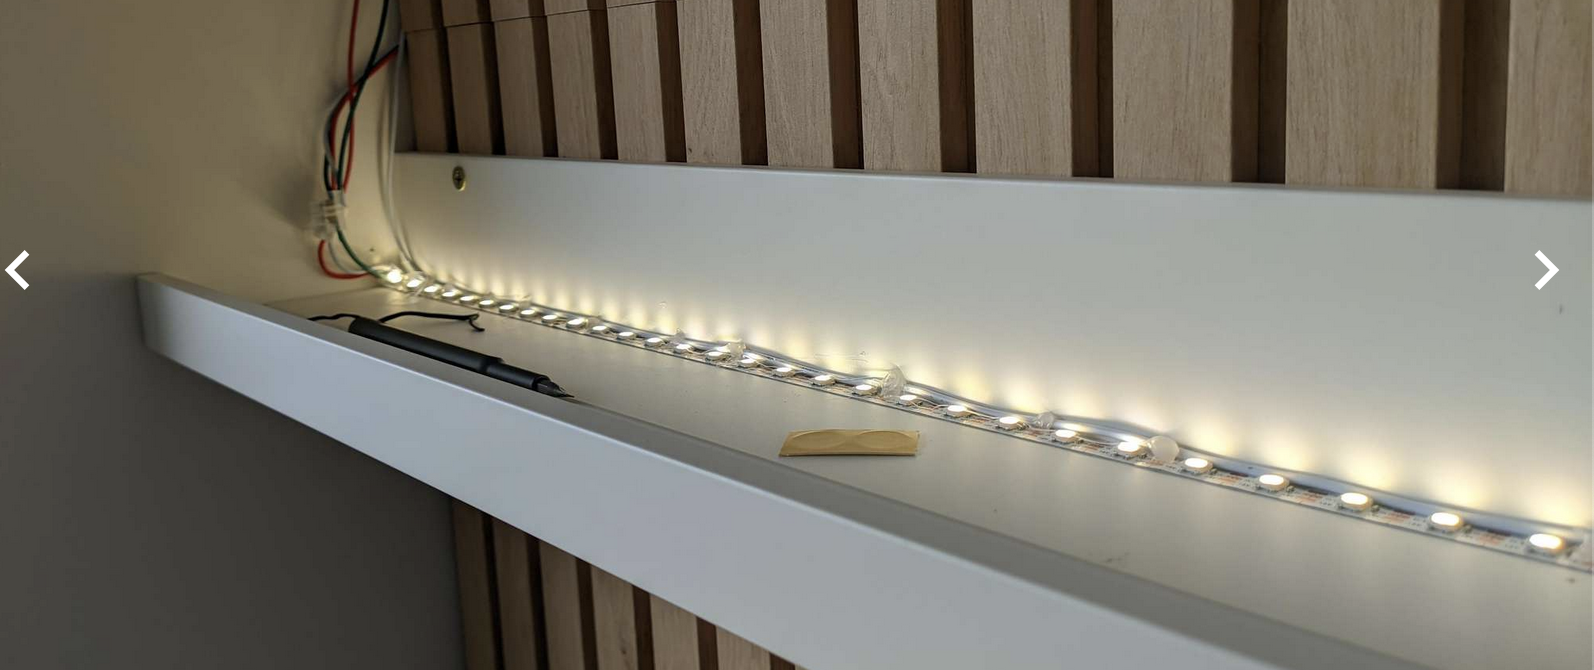
Of course, I couldn’t continue this project without adding some addressable LED strips. I had no idea how they would look, but I had a feeling they would be nice. The LED strip I used has an SK6818 controller, and I opted for a WWA strip (White, WarmWhite, Amber) since I find RGB too gimmicky. The software I use to control the lights is called WLED. If you want to try this as well, they provide excellent guides on how to handle wiring and power supply.
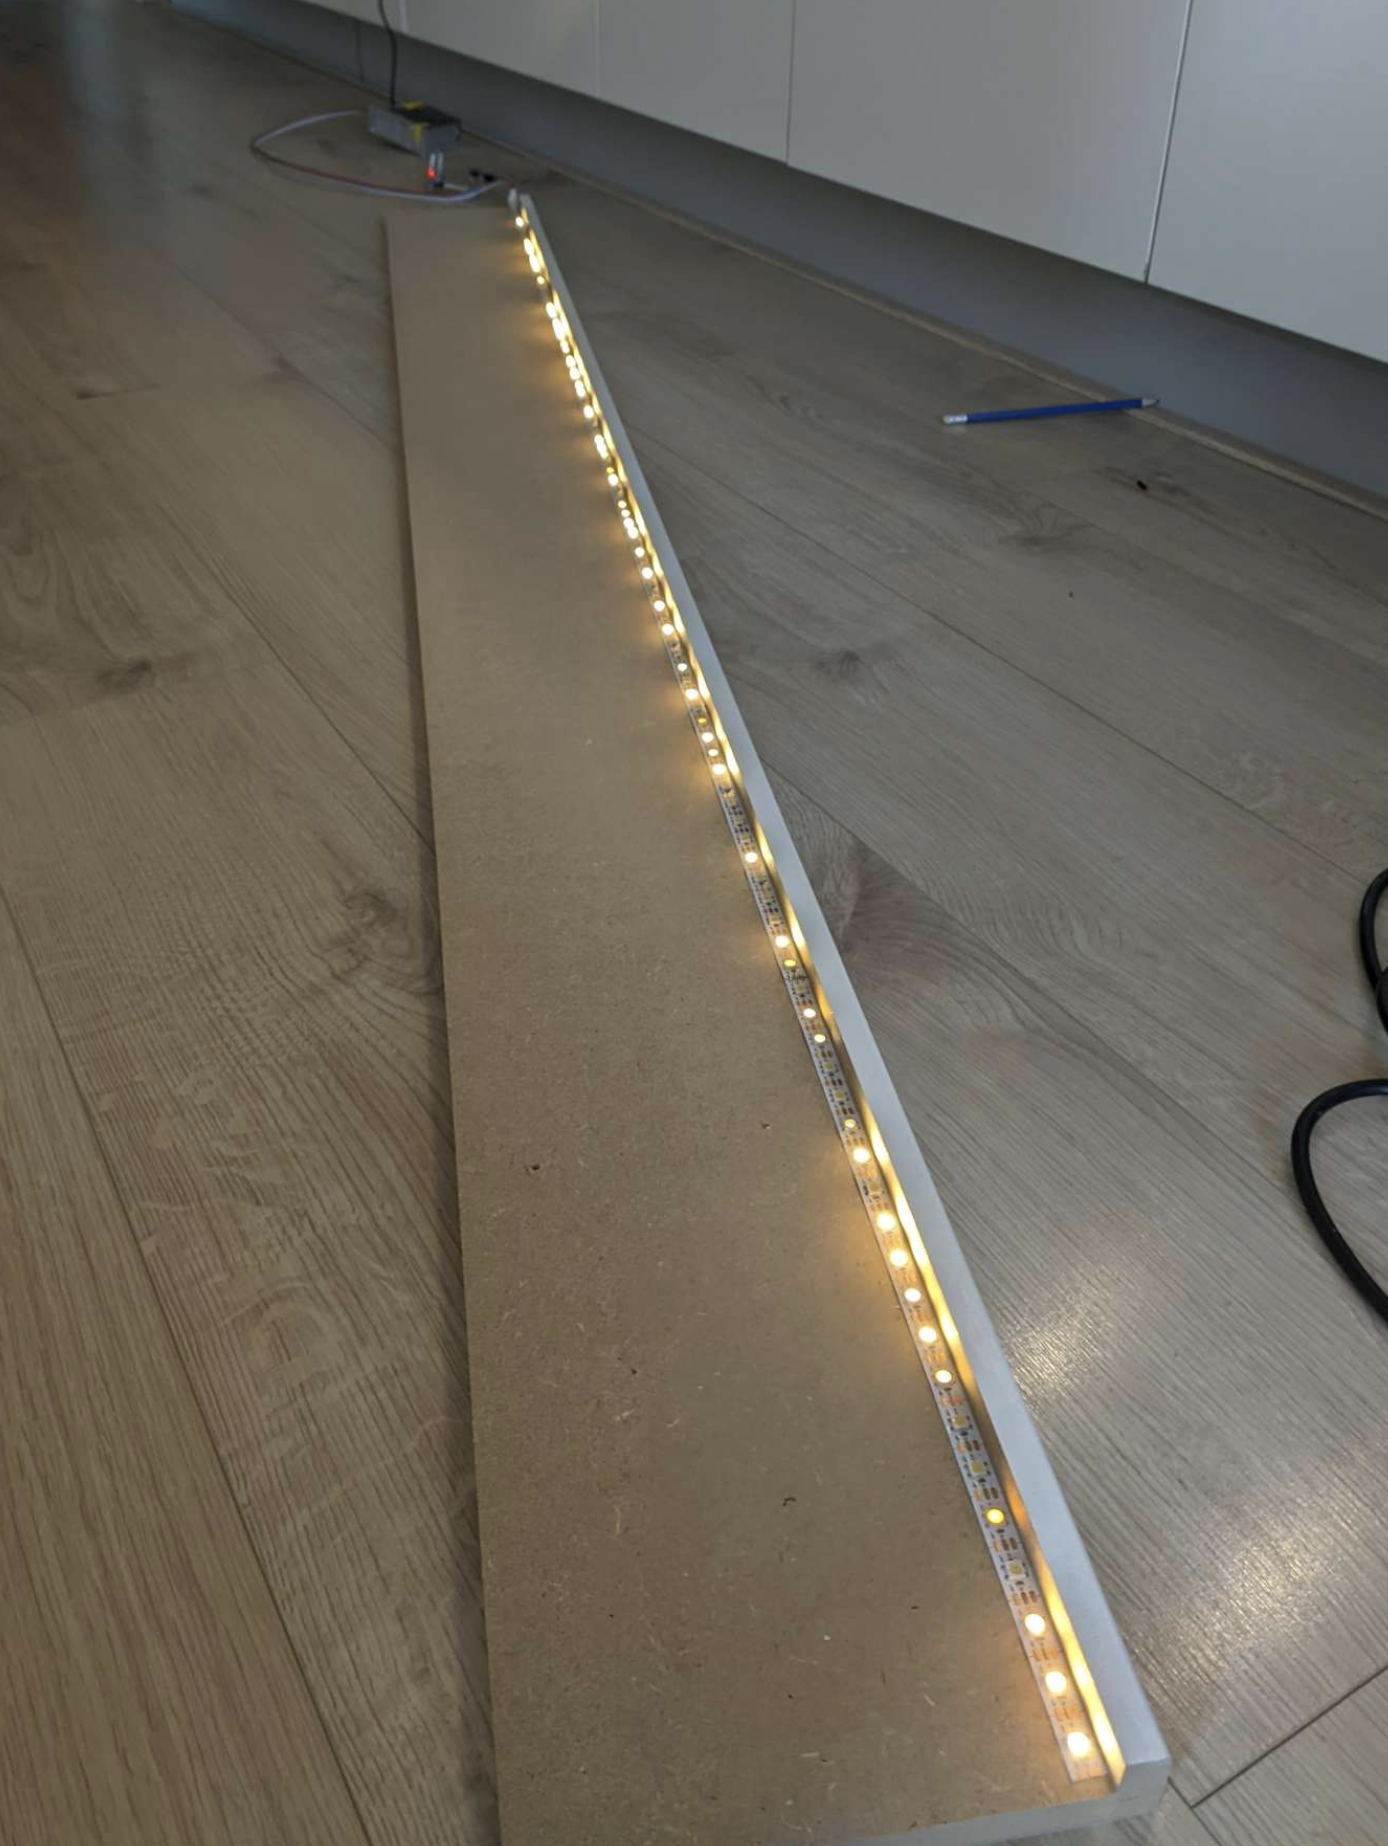
After mounting, it looked like this—I like it!
A trained eye might have spotted a radar hanging on one of the shelf mounts. I installed this to detect someone watching TV or sitting on the couch. My PIR sensors work well for detecting movement in the house, but they don’t work as well for couches (depending on your activity).
Unfortunately, when I started mounting, I noticed the guy had shortened the planks with the packaging. This meant my measurements were off. I had designed the whole thing to have around 0.5cm of tolerance, but for a couple of units, this limit was exceeded. Also, I didn’t like the design I spent all those hours on 😅.
Fortunately, I decided to do what I think I do best: make up plans on the go. From the planks I had, I could also make this:
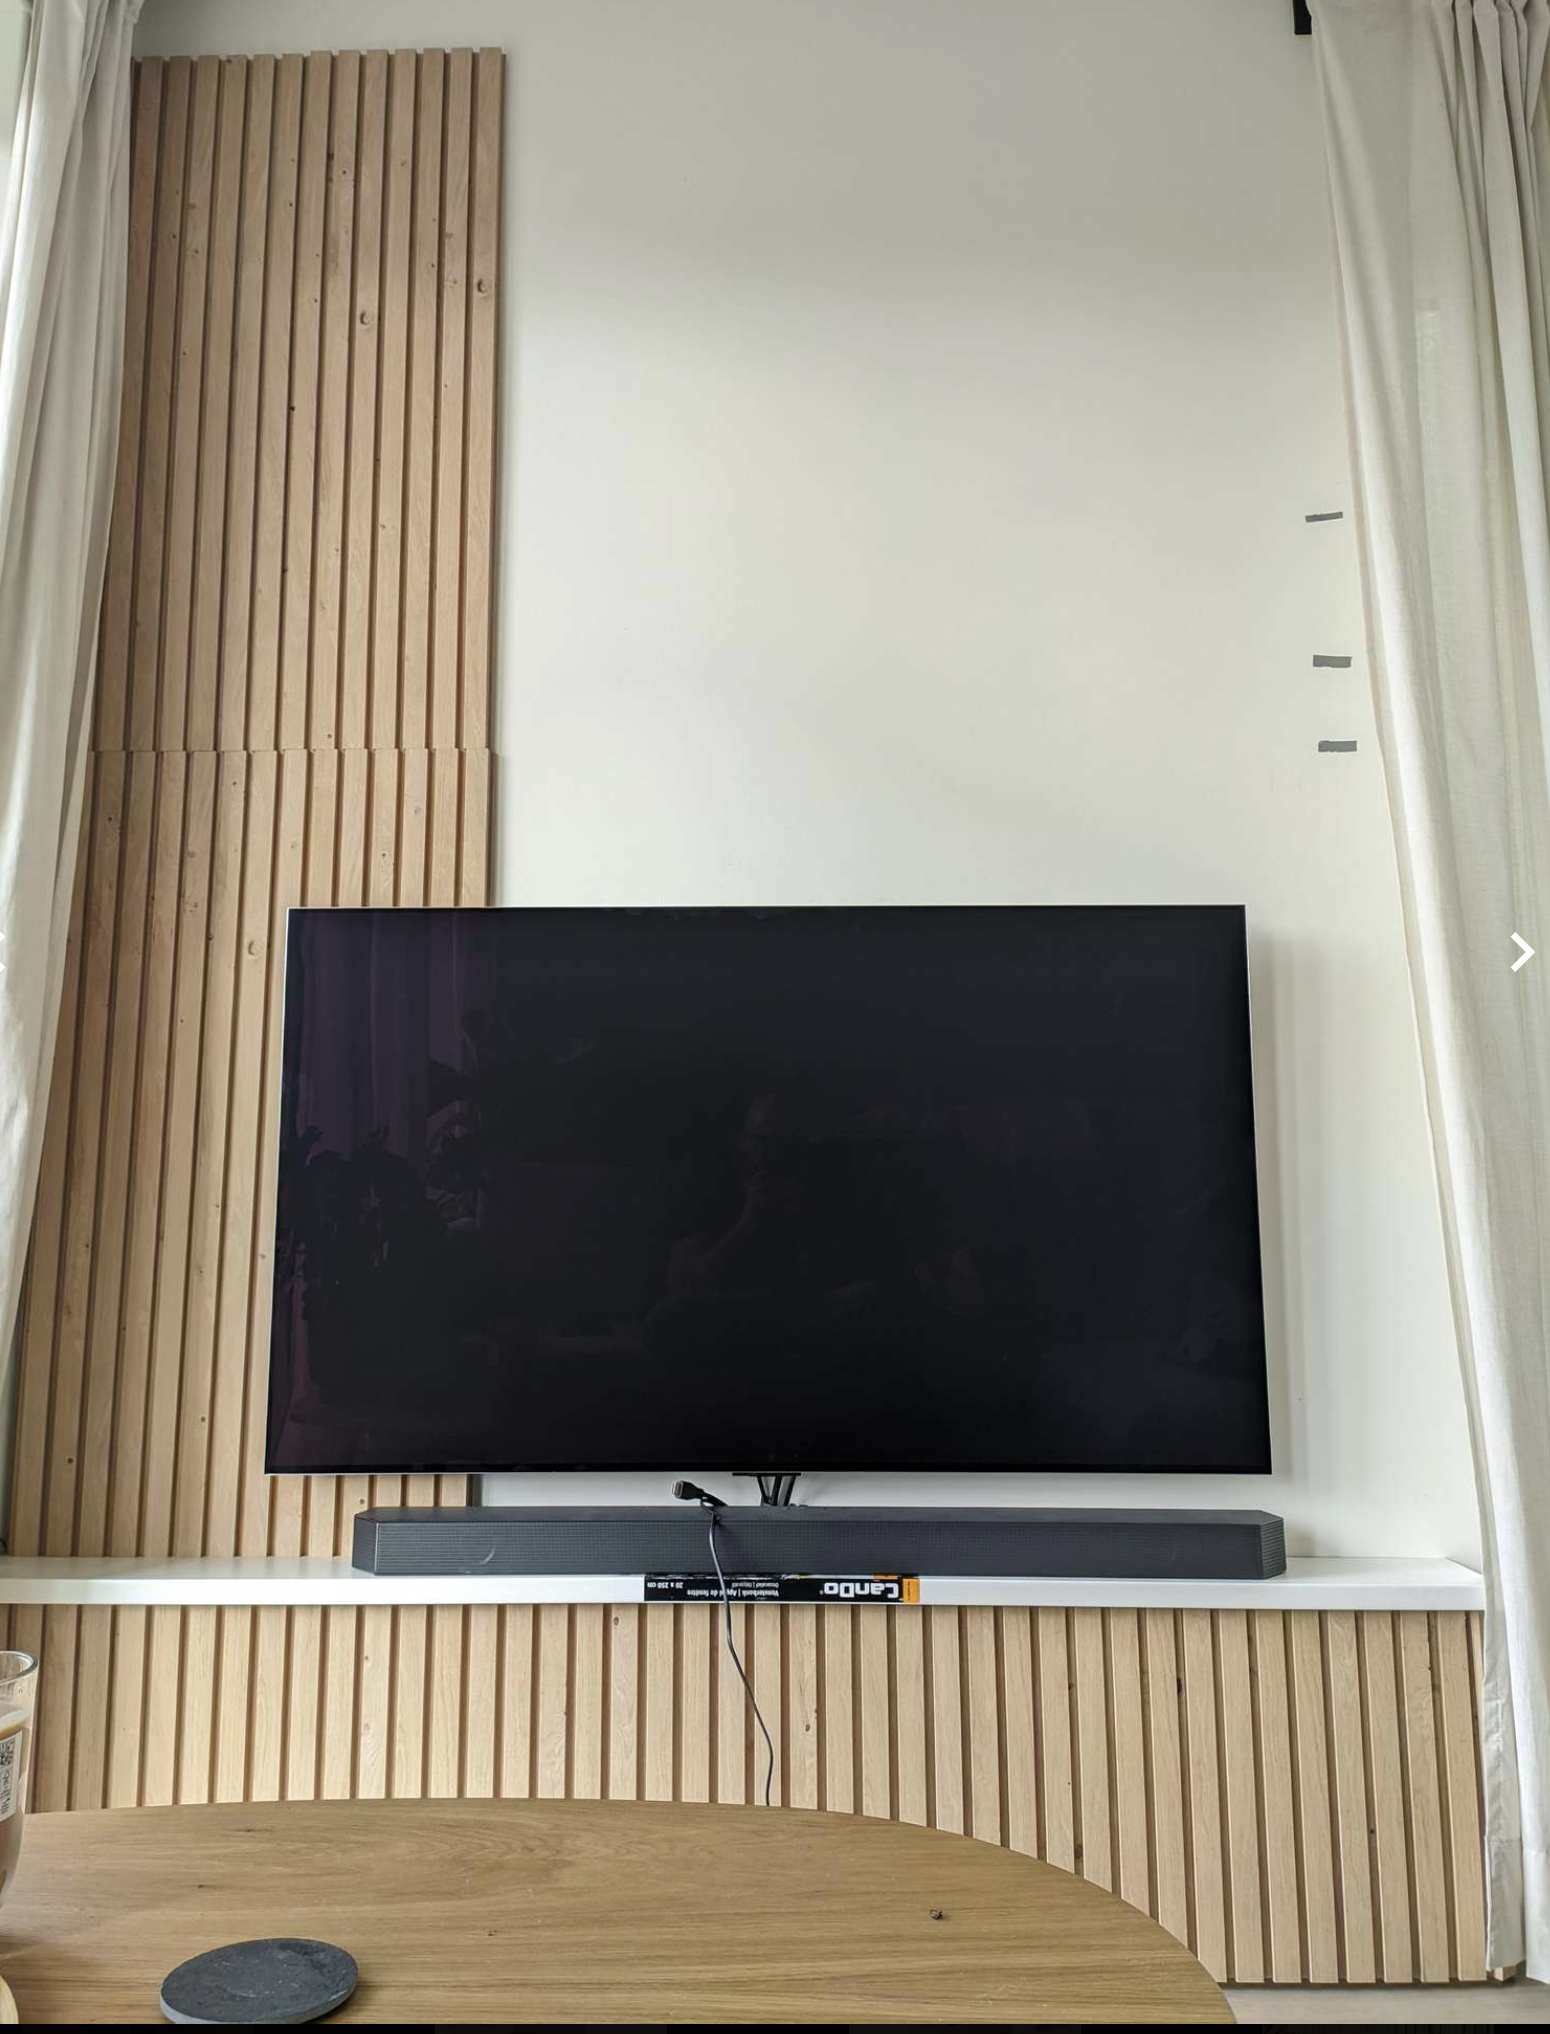
Then I had the idea of mounting some white shelves so that I didn’t have to glue the panels to the wall.
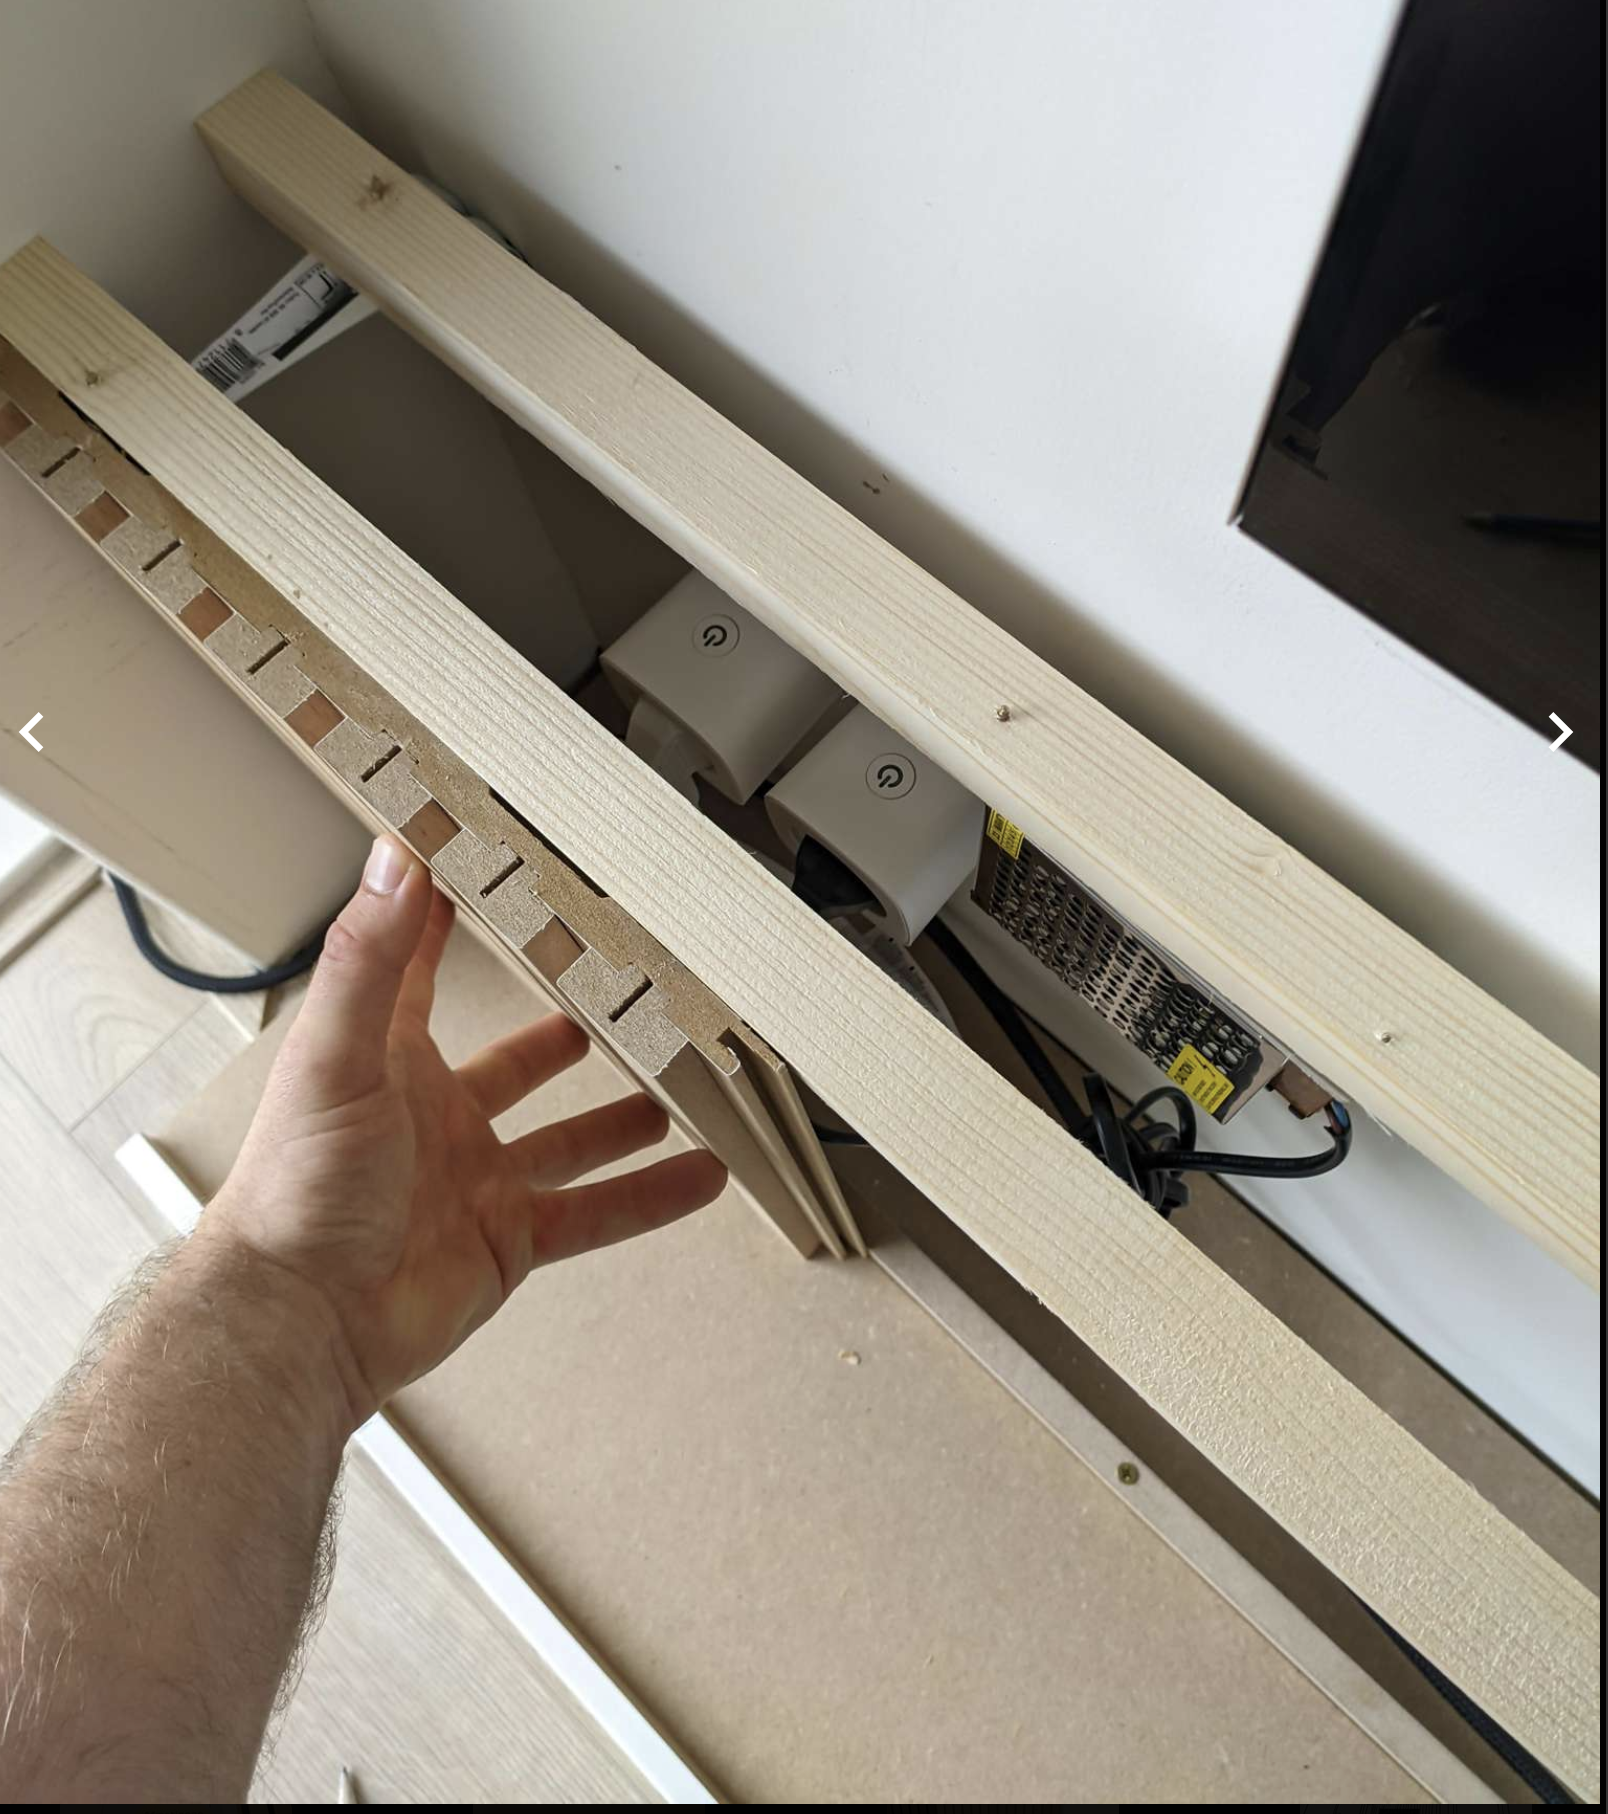
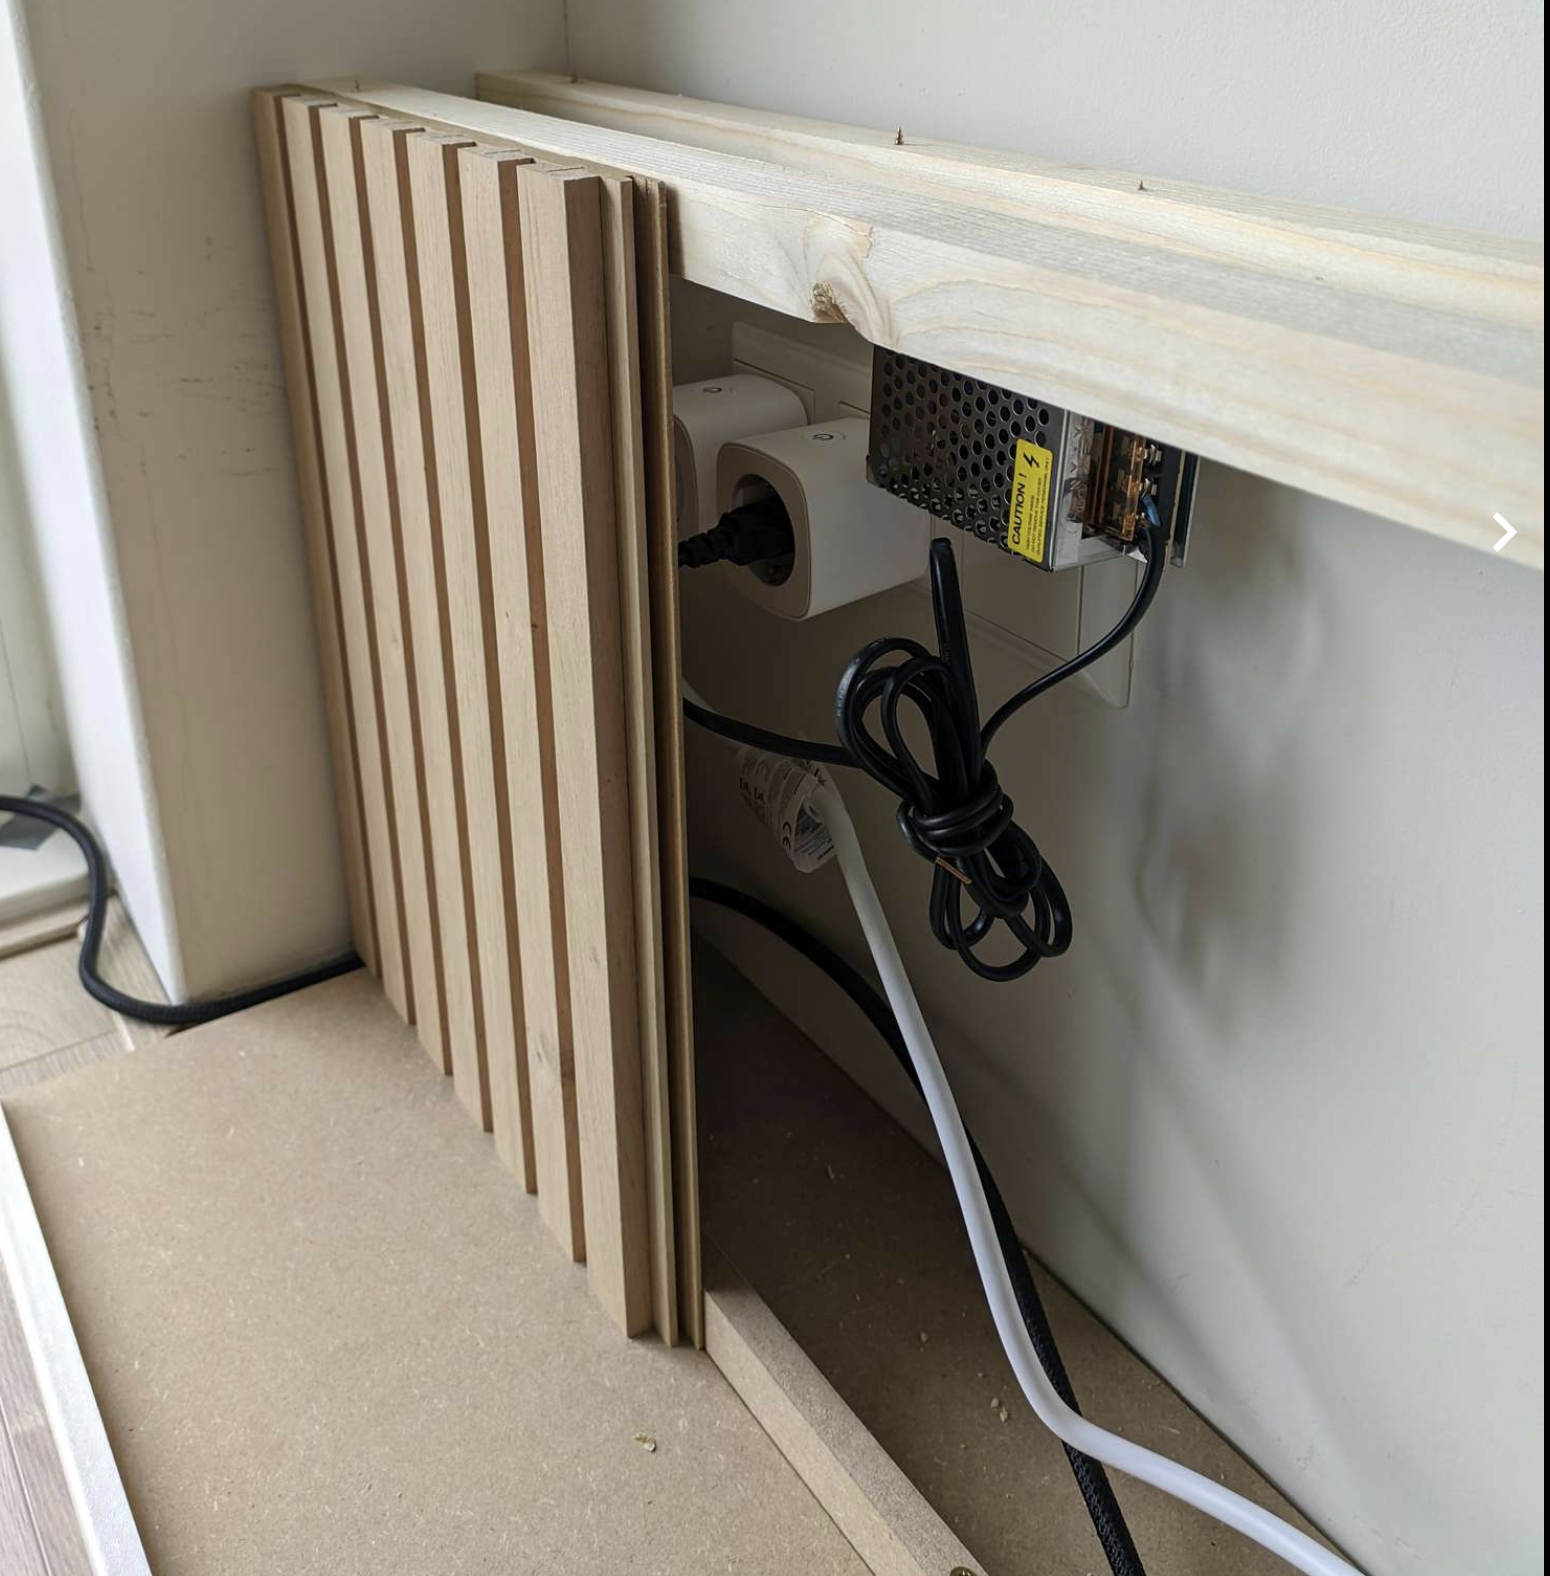
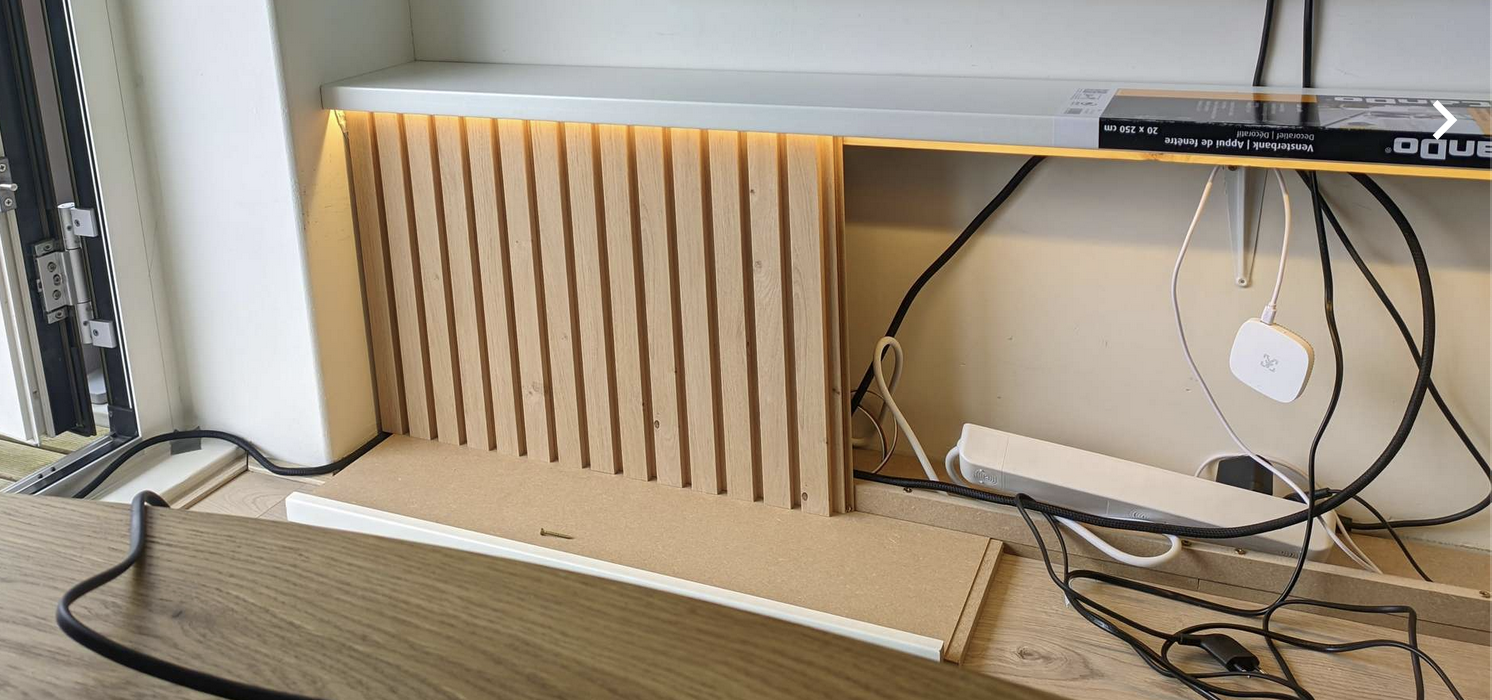
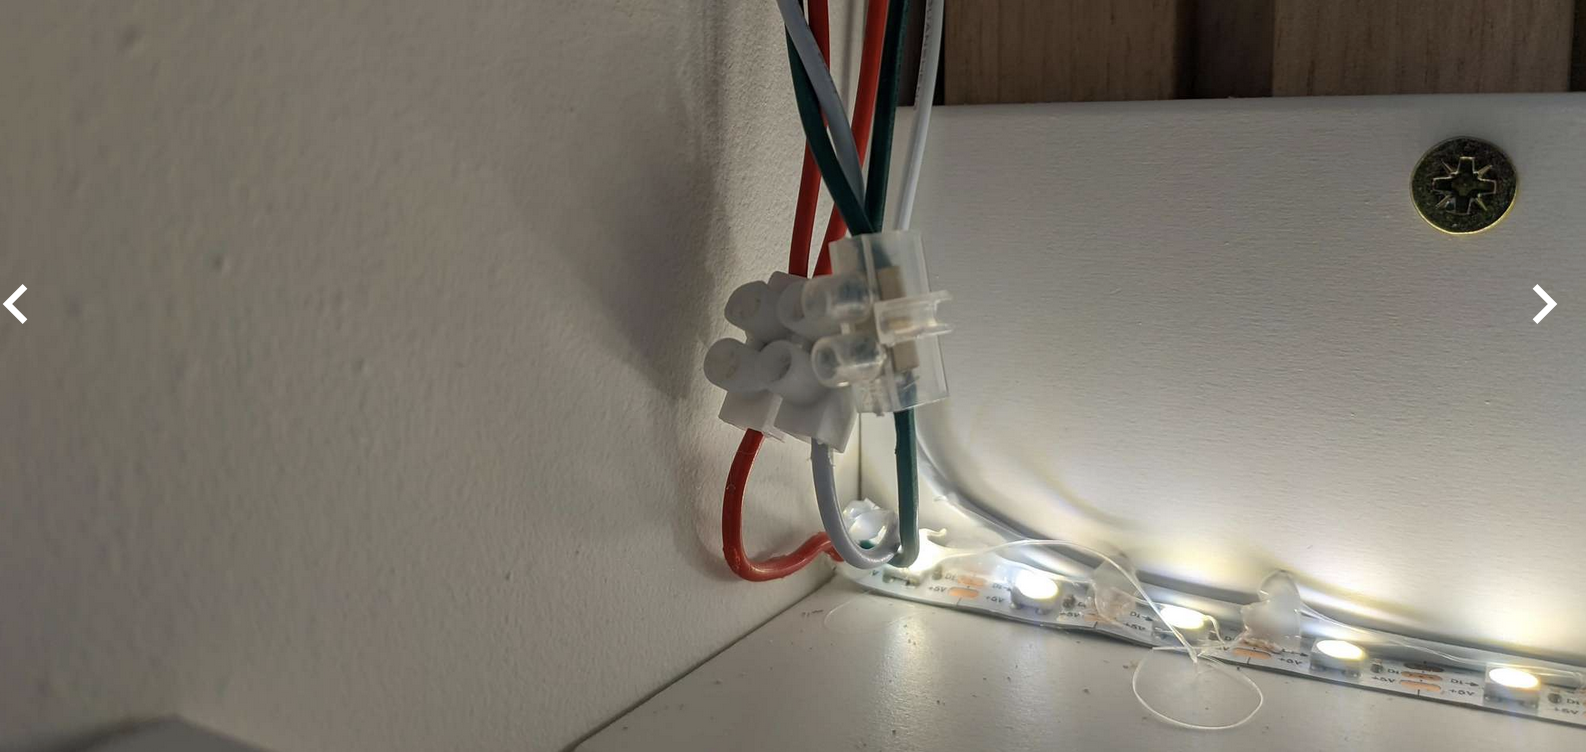
One downside of this approach was that I also got the idea to mount LED strips on the shelves. This made cable management a bit more difficult since I had to route the cables behind the panels. I decided to use flexible cable connectors, as I had anticipated that the structure could be fragile. This allowed me to easily disassemble the shelves if something went wrong:
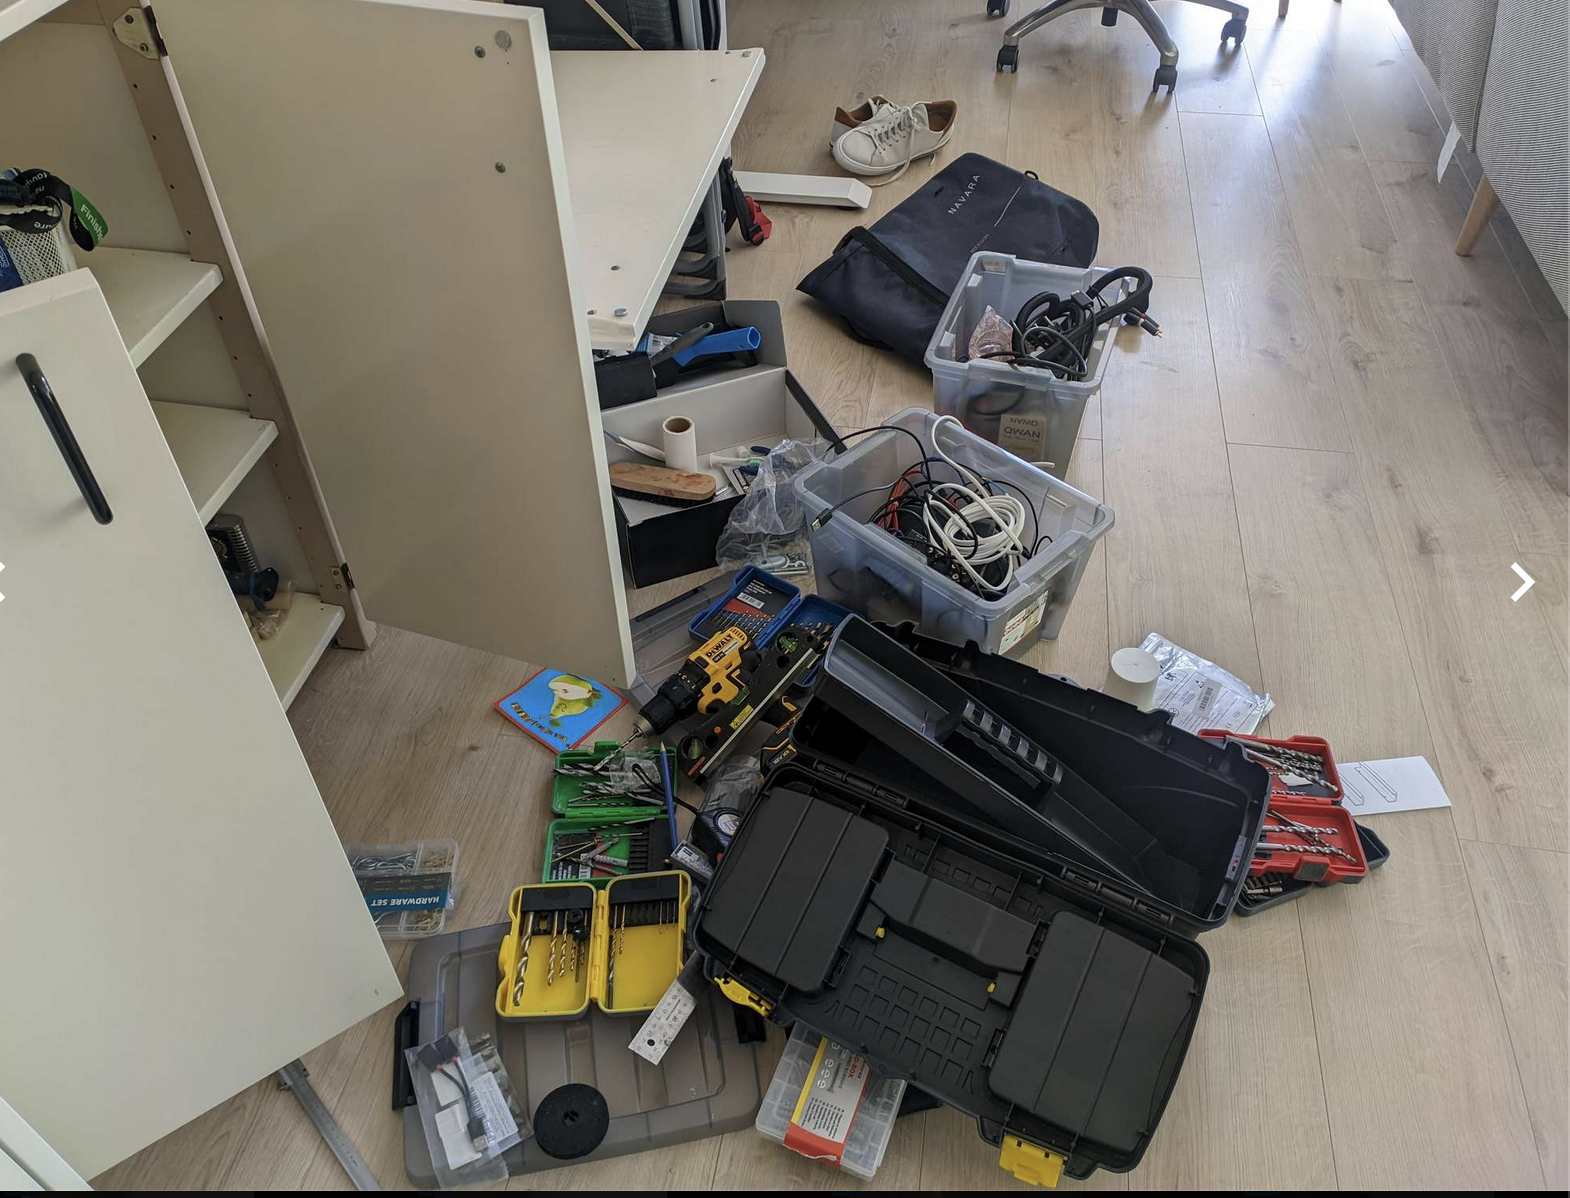
At this point, the project needed to end, as my house was becoming a huge mess:
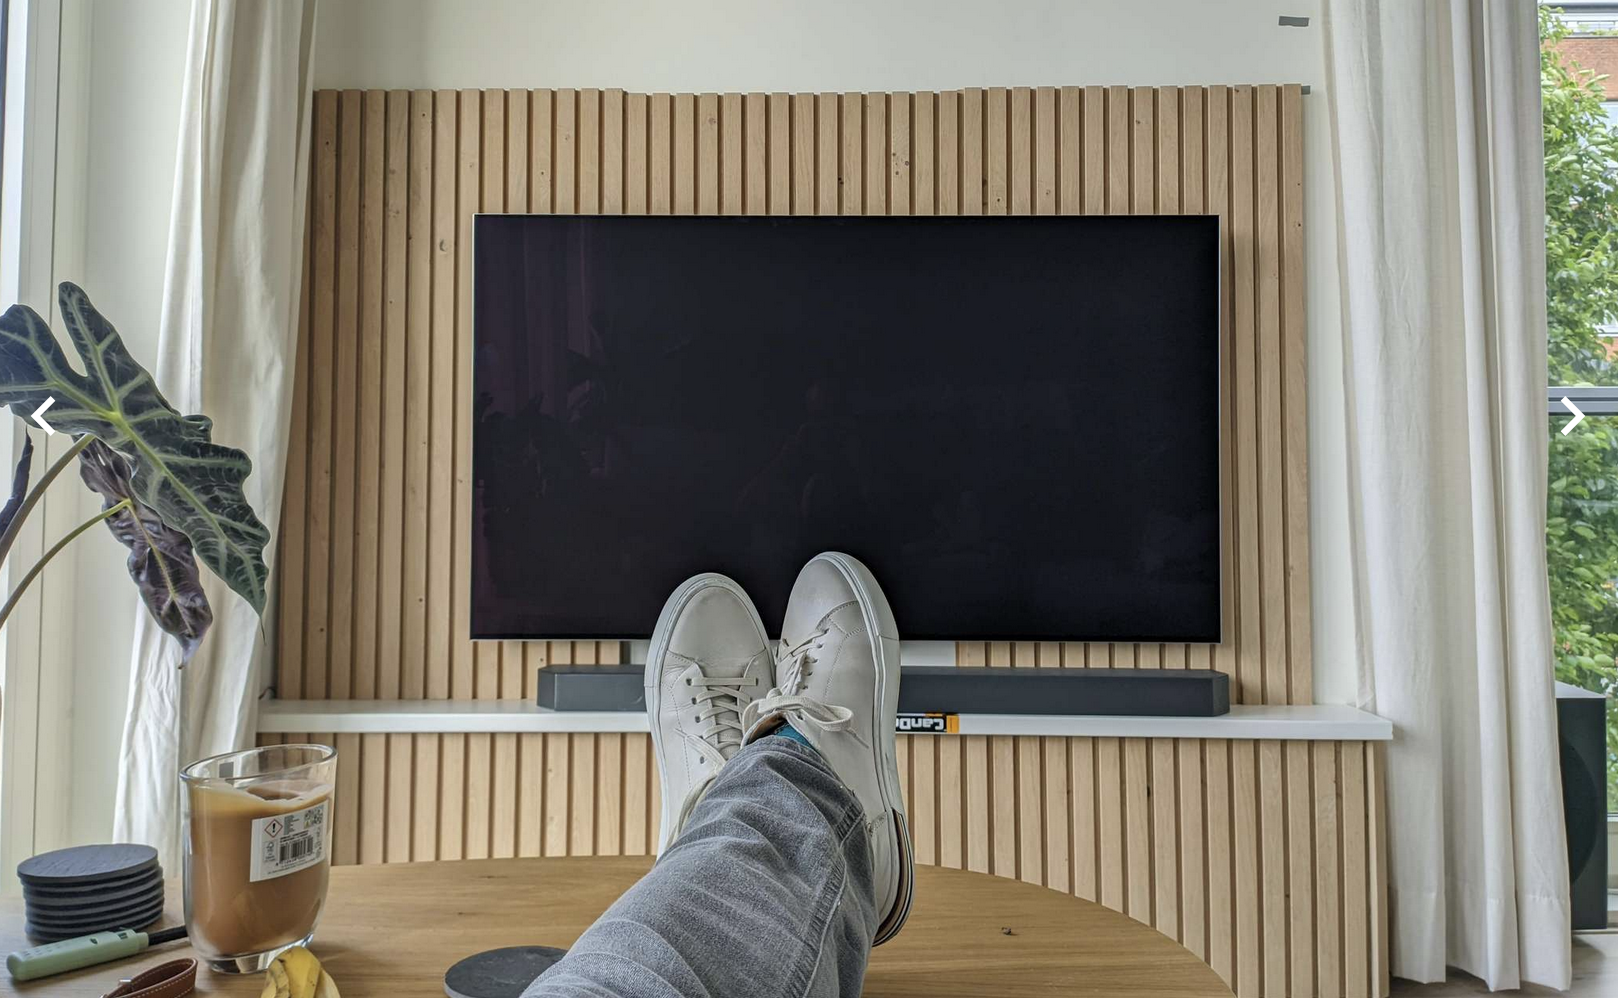
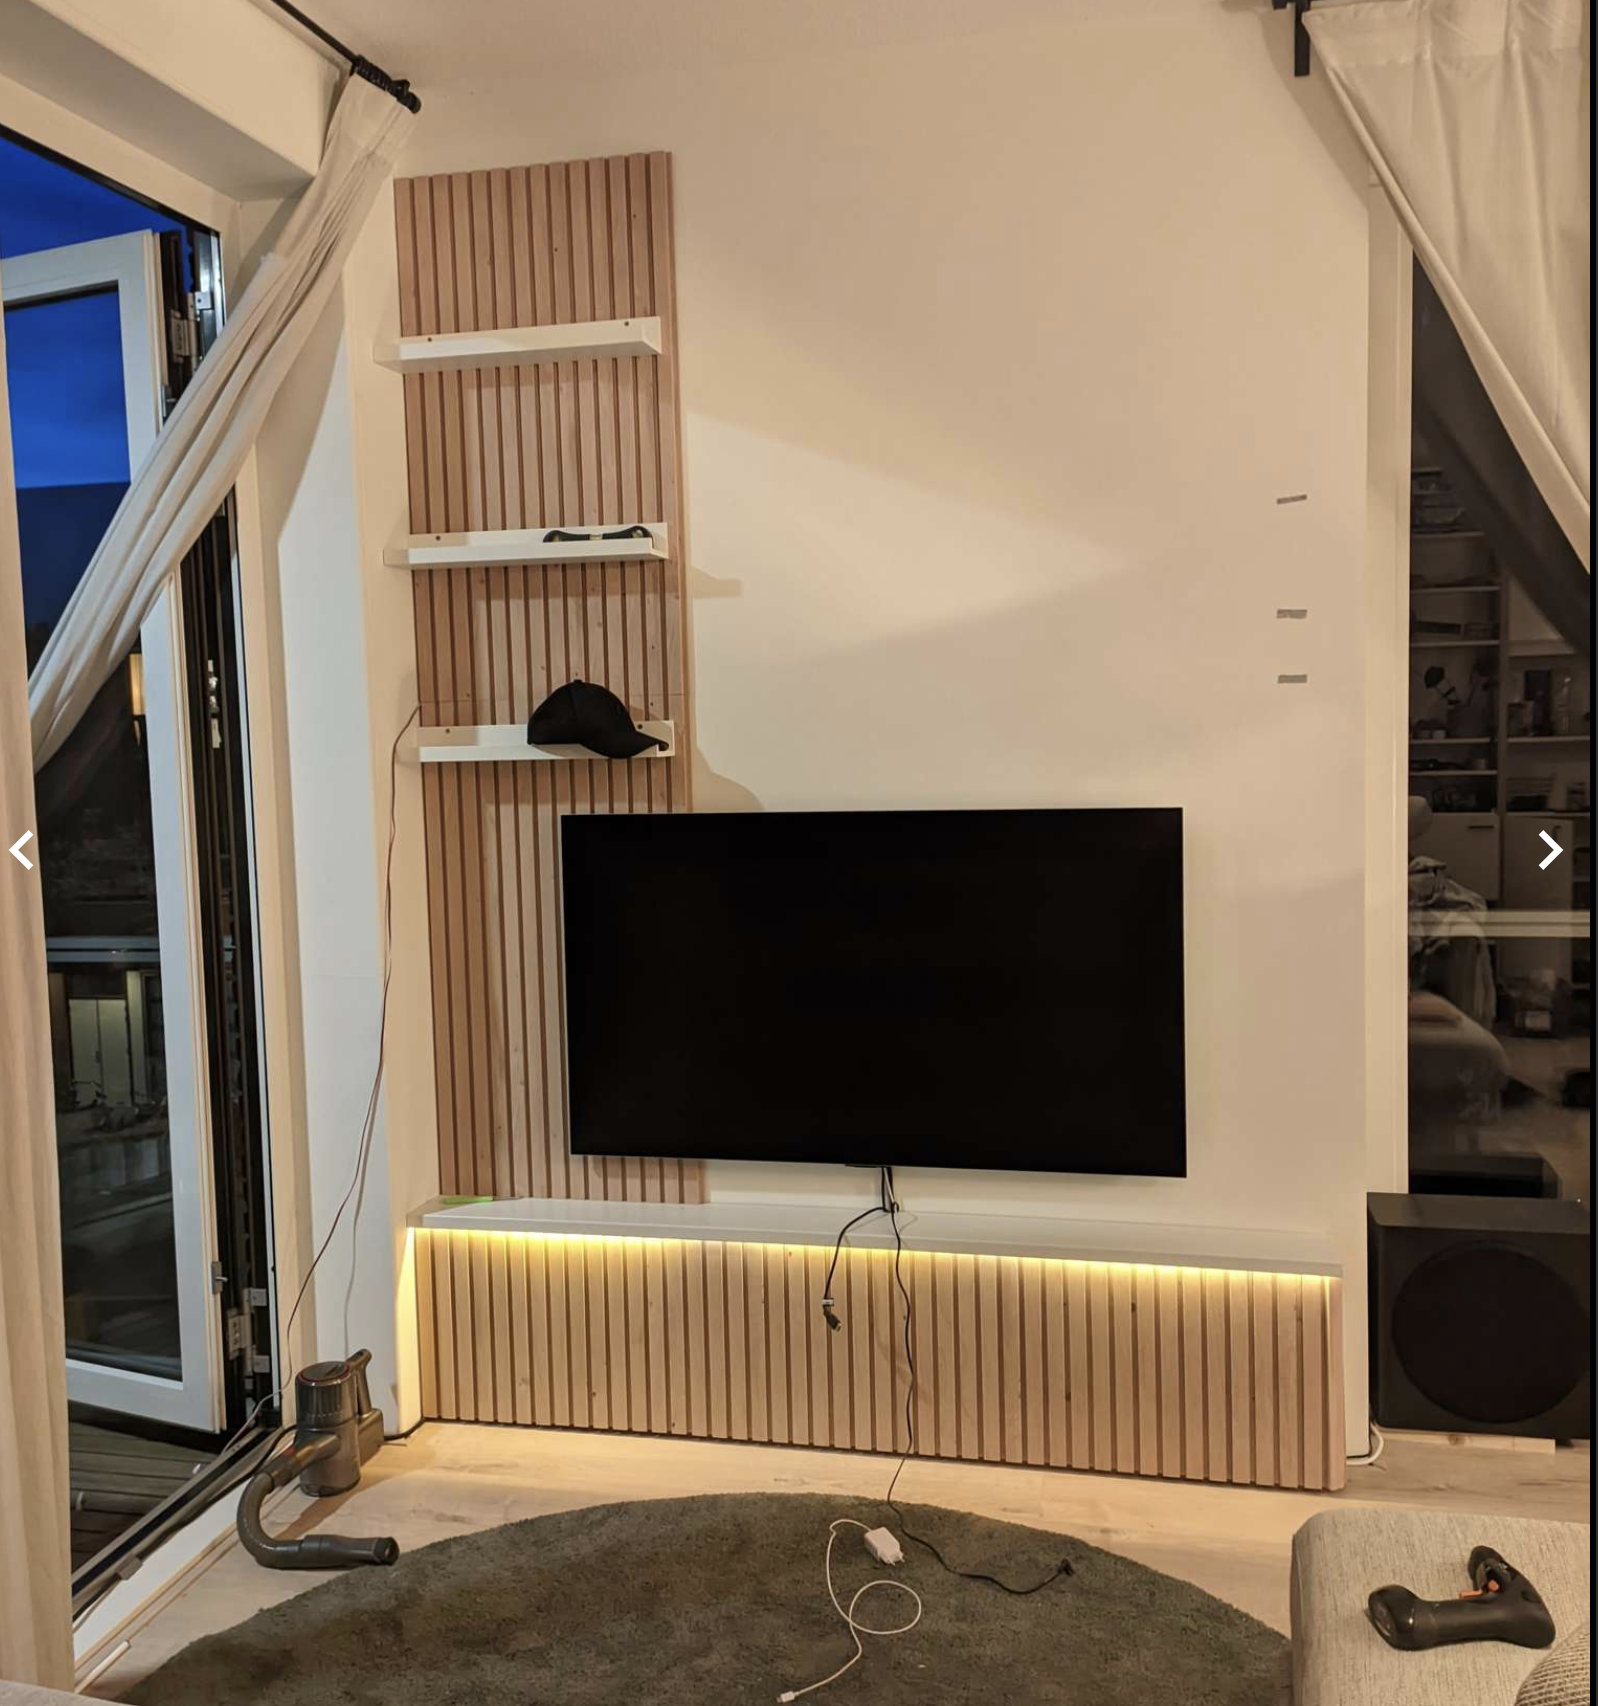
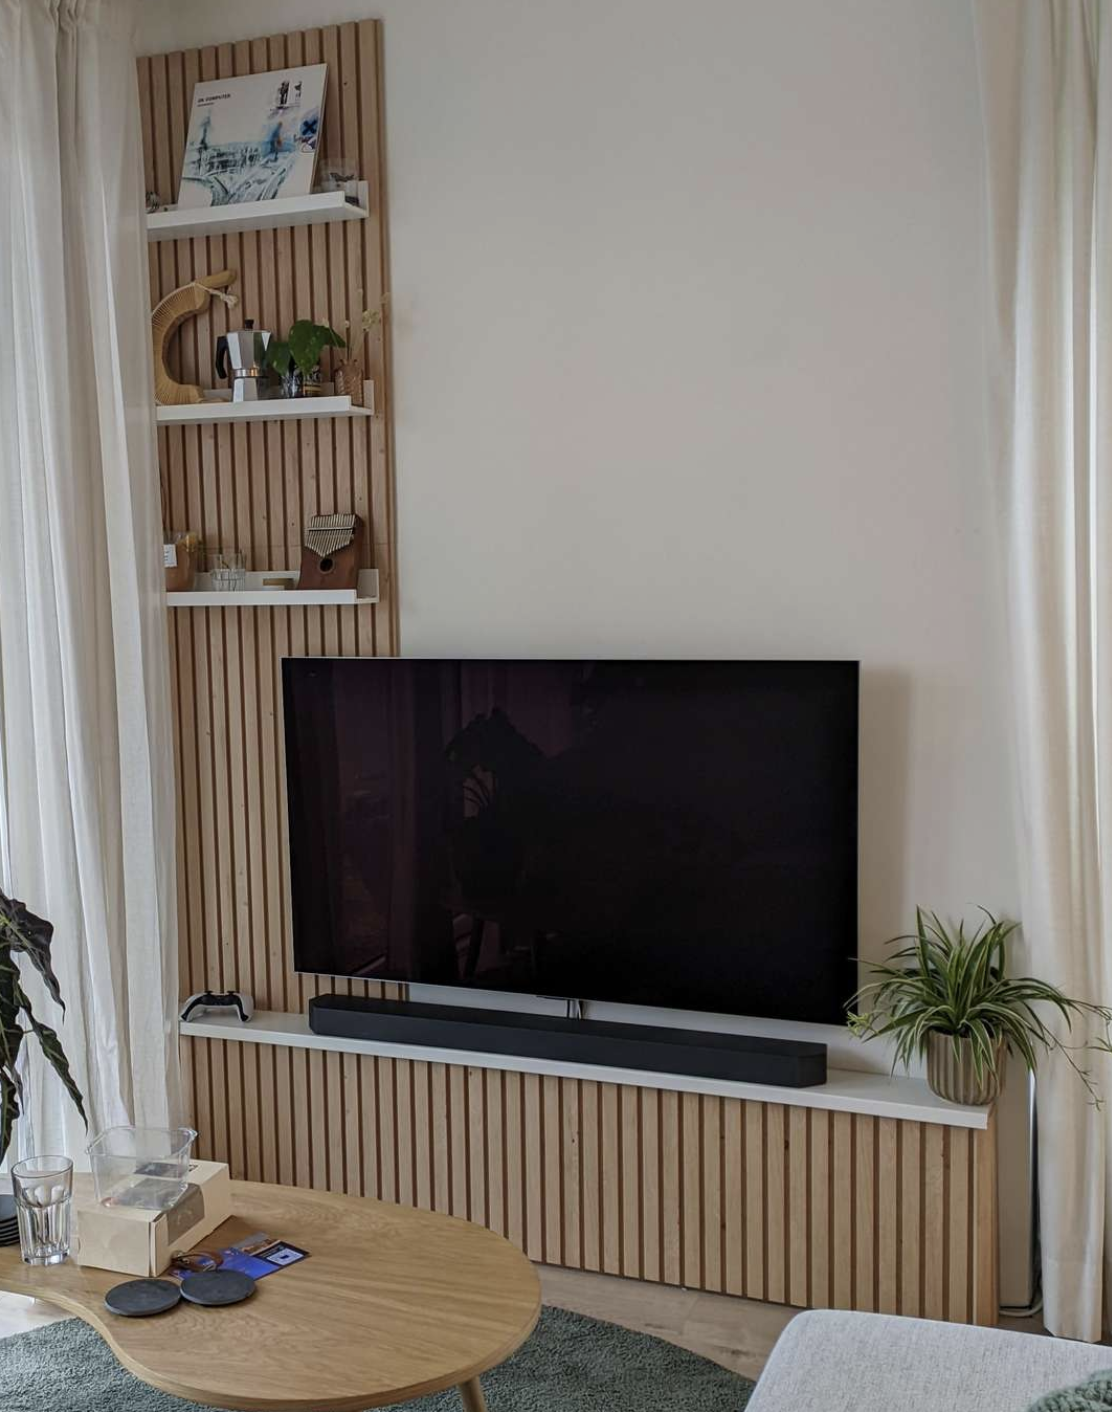
I am, however, quite satisfied with how it turned out:
And here’s the final result:
The next part was integrating everything into Home Assistant. WLED is originally an RGB LED strip control suite, so I couldn’t use it with my adaptive lighting plugin by default. To solve this, I created a wrapper component in Home Assistant that converts brightness and color temperature (which is used by adaptive lighting) to an RGB value that can control the LED strip. You can find the gist here. It might look simple, but it took me quite some time to get it to behave correctly, as this was the only source of documentation I could use. In the end, I’m very happy with the result. It even supports effects!